 Skip to content
 Plush Mascot Manufacturer
Plush Mascot Maker for Brands, Schools, Events & Character Projects
Turn your character, logo figure, school icon, or campaign mascot into a plush product that looks right, feels right, and works for real distribution. Heyzizi supports concept refinement, sampling, material matching, embroidery and print detailing, and stable bulk delivery for branded giveaways, retail programs, event launches, and collectible plush lines.
Our standard MOQ is usually 500 pcs per design, which gives most projects a stronger unit cost advantage. For simple styles, 200–300 pcs can also be arranged, but the unit price will be higher because raw material purchasing costs increase while the full production process remains the same. We can stay flexible based on your project quantity, design structure, and launch plan.


Recognizable Before Looking Cute
A strong plush mascot is not judged by softness alone. It is judged by recognition. When someone sees it on a desk, in a gift box, at a school store, or in an event booth, they should know the character right away without needing a tag or printed explanation. That is what turns a soft toy into a real branded asset.
This is why the best mascot plush projects start with shape memory. The head outline, eye spacing, nose position, body proportion, signature colors, and iconic accessories all need to stay readable after the design is translated into fabric, stuffing, seams, and embroidery. A mascot that becomes “generic but cute” often loses its real commercial value.
For most mascot programs, the first design target should be this: instantly recognizable from 2–3 meters away, and still appealing in hand. That balance matters more than adding too many decorative details. A cleaner plush version usually performs better in sampling, bulk production, photography, and repeat orders.
| Key focus | Why it matters |
|---|---|
| Silhouette | Helps people recognize the character fast |
| Face placement | Controls expression and personality |
| Signature detail | Keeps brand identity intact |
| Proportion control | Prevents the plush from looking “off-model” |
What Makes a Character Work in Plush Form
Not every character that looks good in digital artwork will work well as a plush item. Some designs are excellent on screen but difficult in fabric because they depend too much on thin outlines, tiny printed details, sharp angles, or layered shapes that collapse once the piece is stuffed.
A plush-friendly character usually has clear massing, repeatable shapes, and detail hierarchy. That means the most important visual information can still be understood after the design is softened, stitched, and slightly rounded. In practice, this often requires selective simplification. Tiny teeth may need to become embroidery. A complex costume may need fewer color breaks. A flat logo mark may need to move to a scarf, shirt panel, foot pad, or hangtag.
The goal is not to reduce the character. The goal is to translate it intelligently. A strong plush adaptation keeps the spirit, expression, and recognizable features while removing elements that would only create instability, inconsistency, or weak visual results in bulk.
A useful test is simple: if three people can identify the character from the sample without being told the name, the design direction is usually working.
| Design trait | Plush result |
|---|---|
| Bold primary shapes | Easier recognition |
| Fewer micro details | Cleaner sewing outcome |
| Layered detail priority | Better face and costume clarity |
| Balanced color blocking | More stable bulk appearance |


From Flat Artwork to a Holdable Mascot
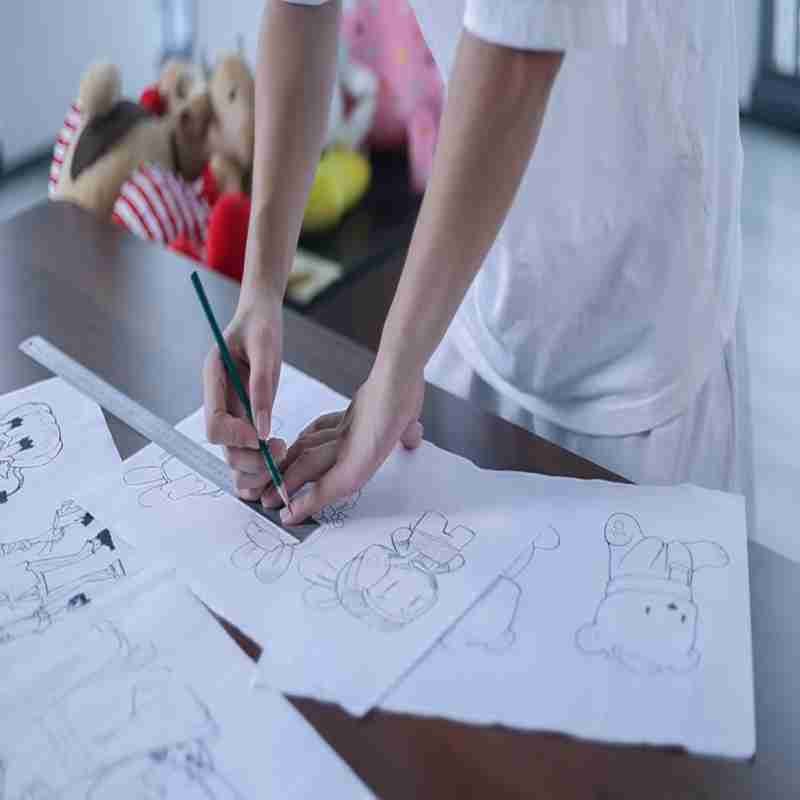
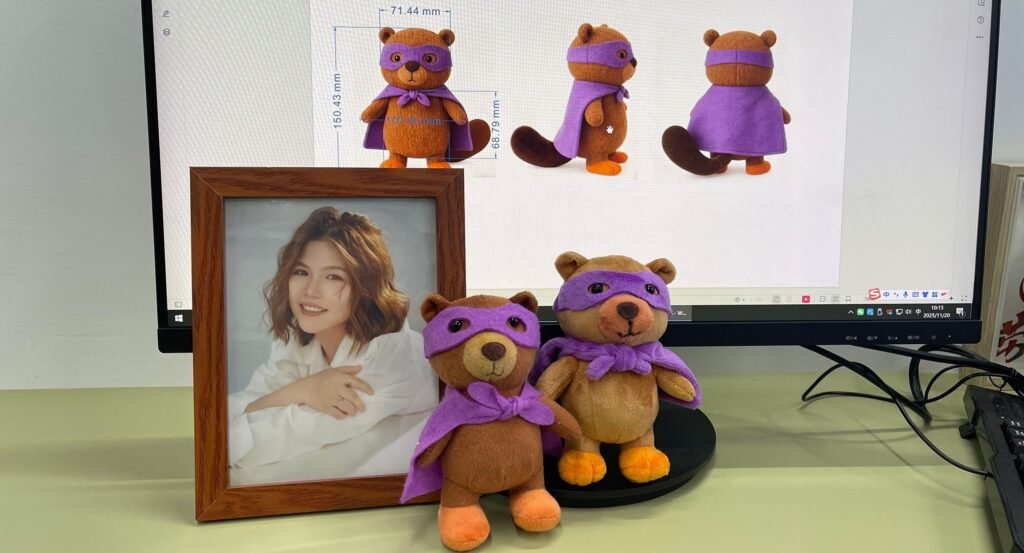
The gap between artwork and finished plush is where many mascot projects lose time. A sketch may look complete, but production still needs decisions on front view logic, side view volume, bottom stability, seam placement, color blocking, facial alignment, embroidery scale, and stuffing behavior. Without these steps, a sample can look inconsistent even when the original drawing is good.
A more reliable path is to break the project into practical checkpoints. First, confirm the core character identity: silhouette, expression, colors, and signature add-ons. Second, define how the mascot should function: shelf display, event giveaway, retail sale, photo prop, or collectible item. Third, prepare the plush build route: fabric choice, embroidery or print placement, stuffing feel, size target, and packaging direction.
This process reduces guesswork and makes revisions more useful. Instead of saying “the sample feels wrong,” the team can identify whether the issue comes from face placement, pattern shaping, filling pressure, fabric texture, or accessory scale. That leads to faster correction and a more stable result later.
| Stage | What should be locked |
|---|---|
| Artwork review | Shape, expression, color, identity details |
| Plush planning | Size, fabric, face method, accessory handling |
| Sample review | Readability, feel, balance, consistency risk |
Mascot Plush Built for Each Use
A mascot plush should not be built the same way for every use. A piece made for event handouts needs a different cost structure, detail level, and packaging logic than one intended for store shelves, fan merchandise, or school spirit programs. Treating all mascot projects as the same often leads to poor fit: either the plush feels overbuilt for the budget, or underwhelming for the intended use.
For giveaway use, the design usually needs fast recognition, controlled cost, safe construction, and easy packing. For retail use, partners often care more about display appeal, hand feel, photo performance, and repeat purchase potential. For school, sports, museum, or community identity projects, the priority may shift toward symbol accuracy, uniform consistency, and logo integration.
That is why the build route should be chosen by channel first. A well-planned mascot line does not start by asking, “What is the cutest version?” It starts by asking, “Where will this plush live, and what job does it need to do?”
| Use scenario | Build priority |
|---|---|
| Event giveaway | Cost control, fast recognition, easy packing |
| Retail program | Shelf appeal, hand feel, cleaner detail |
| School/team use | Symbol accuracy, color consistency, logo clarity |
| Campaign gift set | Theme coordination, packaging fit, visual impact |


Size Planning for Every Plush Use
Size is not just a dimension choice. It changes cost, visual impact, handling comfort, shipping efficiency, and perceived value. A mascot that works beautifully at 20 cm may lose character at 8 cm, while a design that looks charming in a small format may feel empty or structurally weak when enlarged for a display piece.
Smaller sizes usually work well for bag charms, key plush, event add-ons, and impulse gift items. Mid-size plush is often the most flexible for retail counters, school stores, museum shops, and campaign packs because it balances recognition and practicality. Larger sizes can create stronger attention for photo props, launches, brand spaces, and team identity displays, but they also require better proportion control, fabric planning, and stuffing balance.
The best size decision comes from three checks: where it will be placed, how it will be carried, and what emotional impression it should create. A mascot meant to sit on a shelf should feel different from one meant to hang from a backpack or anchor a launch table.
| Size direction | Typical use |
|---|---|
| Mini (5–10 cm) | Charm, key plush, add-on gift |
| Small (10–20 cm) | Event item, desk plush, grab-and-go item |
| Medium (20–35 cm) | Retail, school store, museum shop |
| Large (40 cm+) | Display, launch prop, attention piece |
Details That Bring Characters Alive
Many mascot plush samples look acceptable in shape but still feel flat. In most cases, the real difference is not the body pattern. It is the detail method. Eyes, brows, mouth lines, cheek marks, costume panels, logos, and accent elements need the right balance between clarity, softness, durability, and visual depth.
Embroidery is often the most reliable choice for facial expression and fine line control. Printing can work for gradient areas, subtle patterns, or multi-color artwork that would be too dense in stitch. Appliqué helps create cleaner color blocks and stronger contrast. 3D elements such as ears, tails, hats, scarves, wings, or raised noses can give the mascot more presence when used selectively.
The mistake is trying to use every method at once. A better result comes from choosing the right method for each detail. Strong mascot plush usually has one clear visual priority: the face, the logo area, or one signature feature. Once that focal area is right, the whole character feels more alive.
| Detail method | Best use |
|---|---|
| Embroidery | Eyes, mouth, line detail, expression |
| Printing | Pattern, gradient, soft graphic transitions |
| Appliqué | Bold color blocking, costume pieces |
| 3D parts | Ears, tail, accessories, standout features |


Logo Presence Without Promo Feel
A mascot plush can carry brand identity clearly without looking like a cheap ad item. The difference is in placement, scale, and integration. When the logo is forced into the center of the body, enlarged too much, or printed without regard to the character style, the plush can lose warmth and feel more like a rushed giveaway than a character product people want to keep.
A better approach is to let the brand mark appear where it feels natural. In many mascot programs, logo presence works better on a scarf, shirt panel, foot pad, hangtag, woven label, mini accessory, or outer package rather than across the chest. This keeps the character readable first, while still giving the project clear identity.
The strongest mascot items usually follow a simple order: character first, brand second, sales intent third. That sequence matters. When the plush feels like a real character, people are more willing to display it, photograph it, carry it, and remember who it came from.
| Branding method | Best effect |
|---|---|
| Foot pad logo | Subtle, collectible feel |
| Scarf or outfit logo | Natural integration |
| Hangtag / woven label | Clean main body, strong identity |
| Outer packaging branding | Better for launch and gift use |
Fabric, Filling, and Feel
People often judge a mascot plush within seconds of touching it. Before they study the stitching or notice the embroidery, they react to surface feel, squeeze response, weight balance, and overall body character. That first impression can make the same design feel playful, premium, comforting, giftable, or forgettable.
Short plush, velboa, fleece-like textures, brushed fabrics, and mixed-material panels can all change how a mascot is perceived. A smooth, low-pile fabric may help cleaner facial detail and stronger color reading. A softer or longer pile may feel warmer and more comforting, but it can also soften outlines and reduce graphic sharpness. Filling matters too. A mascot that is overstuffed can feel hard and distorted. One that is underfilled can look weak and collapse in photos or on shelf.
The best choice depends on the role of the plush. Display-oriented items, collectible items, event gifts, and sleep or comfort pieces often need different hand-feel targets. Matching fabric and filling to use is what helps a mascot feel “right” instead of merely finished.
| Material factor | What it changes |
|---|---|
| Pile length | Detail sharpness vs softness |
| Fabric texture | Perceived comfort and quality |
| Filling density | Shape support and squeeze feel |
| Weight balance | Stability and presence in hand |


Mistakes Found After Sampling
Many mascot plush problems do not become obvious until the first sample is made. On screen, the character may look balanced. In hand, the issues start to show: the face sits too low, the head feels too heavy, the body looks shorter than expected, the colors read differently in fabric, or the signature feature no longer stands out.
These problems are common, but they are easier to correct when they are named clearly. Most first-sample issues fall into five groups: proportion drift, face misalignment, fabric mismatch, stuffing imbalance, and accessory scale problems. When the review process is too vague, teams often keep making broad comments like “not cute enough” or “something feels off,” which slows revision and increases cost.
A better sample review looks at the mascot through three lenses: recognition, feel, and repeatability. Does it still look like the intended character? Does it feel right in hand? Can the same look be repeated in bulk without instability? That approach turns sample revision into a practical correction process instead of a guessing loop.
| Common issue | Likely cause |
|---|---|
| Character looks off-model | Proportion drift or face placement |
| Surface feels wrong | Fabric choice mismatch |
| Shape collapses | Filling imbalance or weak structure |
| Key detail disappears | Poor scale decision or wrong method |
Faster Mascot Sampling Path
Mascot projects often come with fixed dates: school openings, sports seasons, museum launches, campaign drops, holiday events, or anniversary programs. When time is tight, the biggest risk is not slow sewing. It is unclear approval flow. If the team waits too long to confirm shape, face logic, size, or key materials, the sample stage starts absorbing decisions that should have been made earlier.
A more reliable path is to split sampling into fast decision layers. First lock the character direction: silhouette, expression, body proportion, and main color balance. Then confirm the build route: fabric type, embroidery or print method, accessory handling, and target feel. After that, review the sample against three practical checks: readability, hand feel, and correction cost. This reduces circular revisions and helps the team move quickly without losing control.
For deadline-driven mascot work, speed comes from fewer unclear comments, not from rushing blindly. A clean sample path allows adjustments to happen where they are easiest to fix, before problems spread into bulk, packaging, or delivery timing.
| Fast sampling layer | What should be confirmed |
|---|---|
| Character direction | Shape, face, proportion, main color |
| Build route | Fabric, detail method, accessories, feel |
| Sample review | Recognition, touch, revision priority |


Bulk Consistency Starts Before Production Starts
A mascot plush does not stay consistent in bulk by luck. It stays consistent because the key decisions are locked before production begins. If the approved sample still leaves room for interpretation—such as unclear fabric substitute rules, loose embroidery position tolerance, undefined filling firmness, or flexible accessory size—the finished batch can drift even when the factory is working normally.
The most useful control step is to convert the approved sample into a clear production baseline. That baseline should cover visible proportion, face placement, color reference, embroidery scale, accessory attachment method, stuffing feel, and packaging presentation. Once those details are fixed, the production team, QC team, and packing team are all working against the same target.
This is especially important for mascot items because recognition is sensitive. A small face shift, a softer body than expected, or one missing contrast detail can make the piece feel off-model. Strong bulk control is not only about defect prevention. It is about protecting identity stability across the whole order.
| Pre-bulk control area | Why it matters |
|---|---|
| Face placement | Keeps expression consistent |
| Fabric and color reference | Prevents visual drift |
| Stuffing standard | Protects shape and feel |
| Accessory method | Maintains signature details |
| Packing presentation | Keeps shelf or gift appearance aligned |
Packaging and Launch Readiness
A mascot plush is often judged twice: first by the plush itself, and then by how ready it feels for display, gifting, resale, or event use. A strong character can still lose impact if the hangtag feels generic, the bagging looks rushed, the barcode placement is awkward, or the outer presentation does not match the purpose of the project.
Packaging should be planned according to the real channel. For event distribution, speed and neatness may matter most. For retail display, hangtags, barcode positioning, polybag clarity, or box presentation can affect how the plush is perceived on shelf. For museum, school, and themed programs, packaging can also reinforce story, identity, and collectibility without overwhelming the item itself.
The best packaging plan is not overly complicated. It is appropriate, consistent, and easy to execute repeatedly. For mascot projects, that often means thinking beyond the toy: hangtag shape, label placement, retail readiness, gifting presentation, and how the item will look the moment someone first receives it.
| Packaging element | What it improves |
|---|---|
| Hangtag design | Identity and story expression |
| Label / barcode position | Cleaner sale-ready presentation |
| Polybag / box choice | Protection and perceived value |
| Outer set coordination | Better launch and gifting effect |


Mascot Plush for Real Programs
Not every mascot plush program follows the same logic. A school character often needs friendly recognition, repeat ordering, and manageable pricing. A sports team item may need strong identity, fan energy, and coordinated color use. A museum or park character often benefits from story value, giftability, and collection appeal. A campaign item may focus more on timing, visibility, and themed presentation.
This matters because one mascot can be developed into different product directions without changing the core identity. A single character can become a desk plush, souvenir item, launch gift, key plush, bundle item, or limited seasonal edition. When the build logic is matched to the program, the same mascot can support broader use without losing character consistency.
That is where plush becomes more than a one-time item. It becomes part of a wider branded character system. For teams planning repeated use, this approach helps maintain visual continuity while allowing different size tiers, packaging routes, and pricing structures across channels.
| Program type | Common plush direction |
|---|---|
| School / campus | Spirit item, bookstore plush, event keepsake |
| Sports team | Fan item, mascot plush, themed bundle |
| Museum / park | Story-based plush, souvenir, collectible |
| Campaign / event | Launch gift, promo plush, timed release |
Smart Small First Orders
For character-based plush projects, a controlled first order can help test real launch response before scaling. It helps confirm audience reaction, photo performance, size feel, logo placement, packaging fit, retail display effect, giveaway value, and sell-through behavior. This is useful for new mascots, school icons, sports teams, museum shops, theme parks, campaign gifts, and first-time collectible plush lines. Heyzizi’s standard MOQ is usually 500 pcs per design, which gives stronger unit cost advantages. For simple styles, 200–300 pcs can also be arranged, but the unit price will be higher because raw material purchasing costs rise while the full production process still remains the same.
| Key Point | What It Means |
|---|---|
| Controlled first run | Test demand before larger orders |
| 200–300 pcs simple styles | Possible, with higher unit cost |
| 500 pcs standard MOQ | Better price position |
| Same full process | Sampling, materials, sewing, QC, packing |
| Second-round planning | Improve size, logo, packaging, and quantity |
In general, larger quantities reduce the unit cost. Once the order reaches 500 pcs or more, pricing becomes more competitive. Heyzizi can stay flexible based on design difficulty, launch plan, and quantity needs.


Our Plush Toys Range
A selection of plush toy categories we commonly manufacture for OEM and brand clients.
Our factory manufactures a wide range of custom plush toys for OEM and brand clients across different industries.
Rather than fixed products, these categories represent the types of plush projects we commonly develop and produce, from character-based designs to large-scale promotional and retail plush.
Each category reflects our experience in custom development, process control, and stable mass production, allowing buyers to quickly identify whether their project fits our manufacturing capabilities.
Custom Baby Cloth Book

Custom baby cloth books designed for early learning, sensory play, and original development for OEM and private label production.
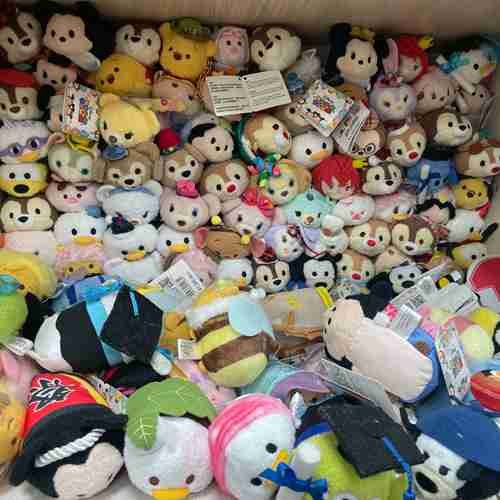
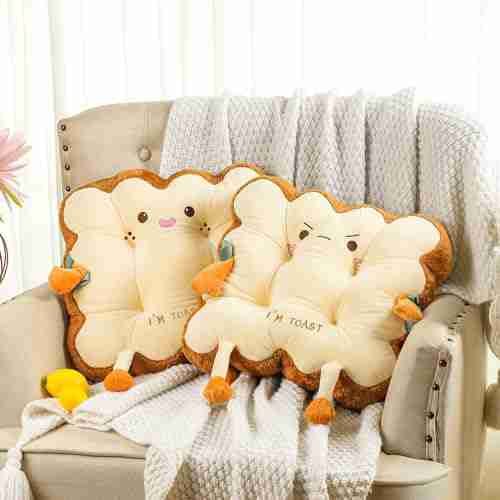
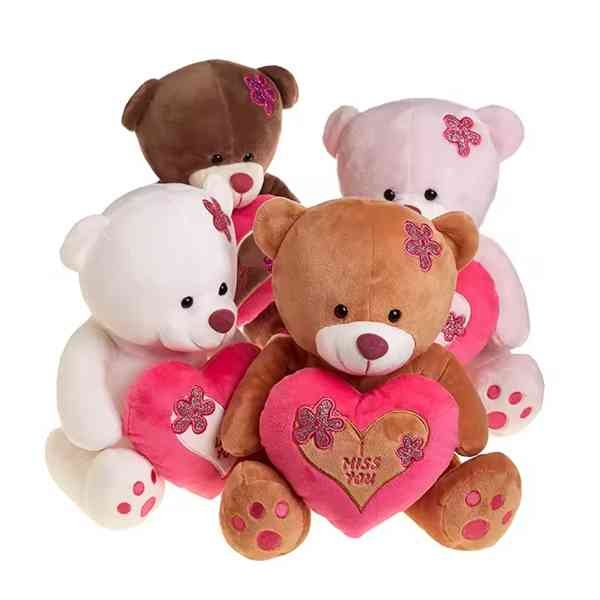
Custom Character Plush
Custom-made plush toys based on IP characters, mascots, and original artwork, developed for OEM and licensed production.
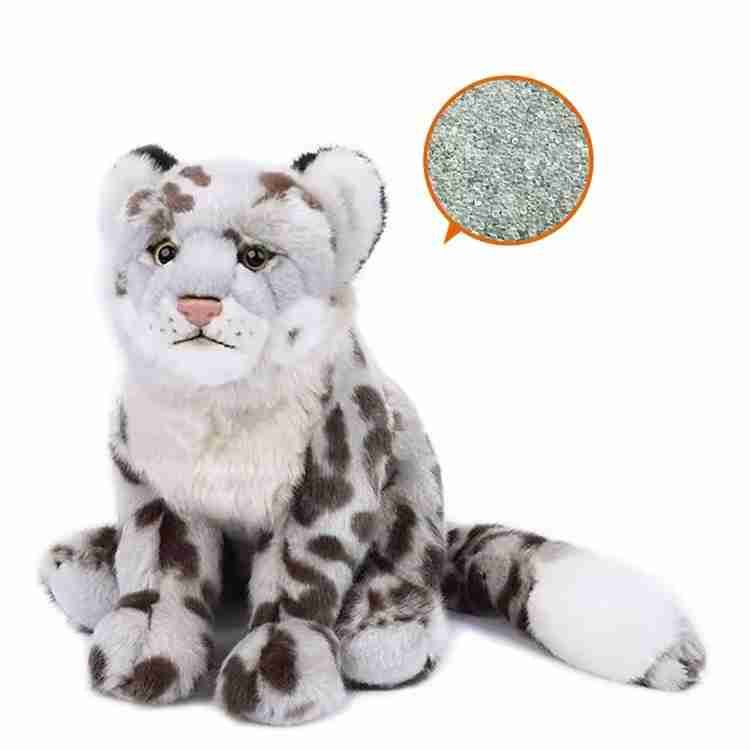
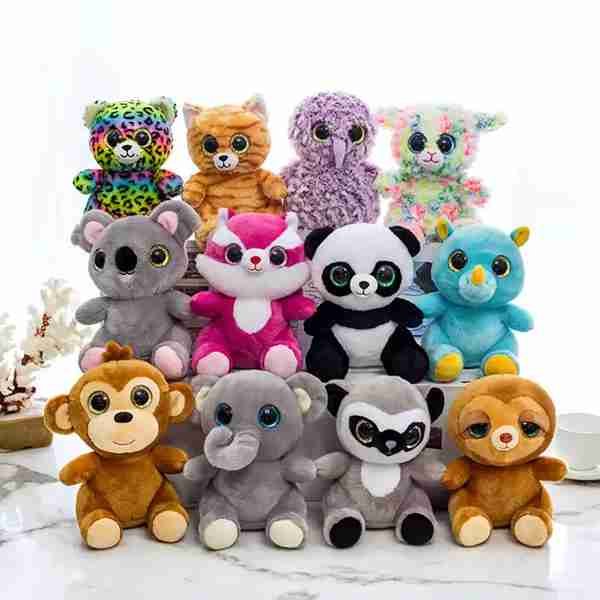
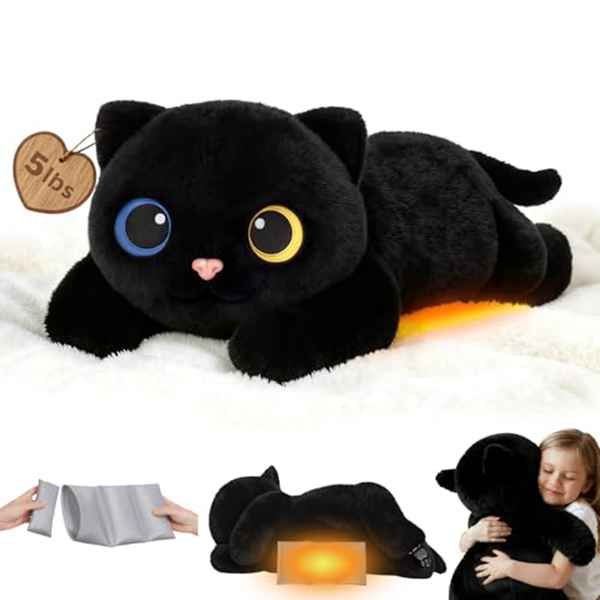
Yours Animal Plush Toys
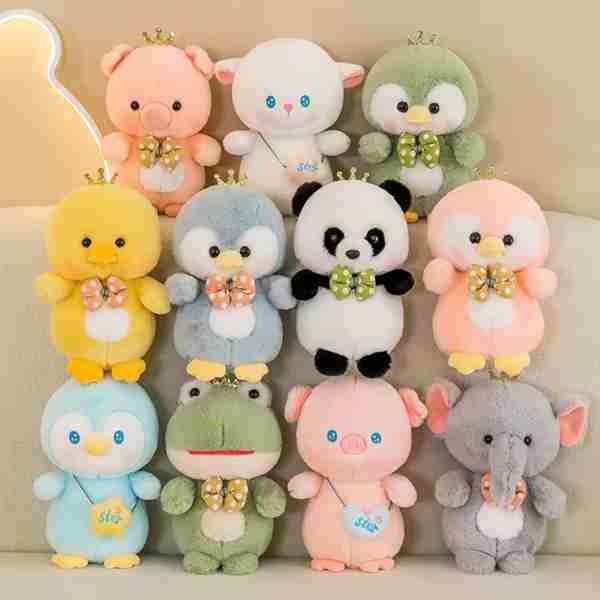
Classic animal plush toys produced for retail and wholesale distribution, with custom materials and design variations.
Retail Plush Collections
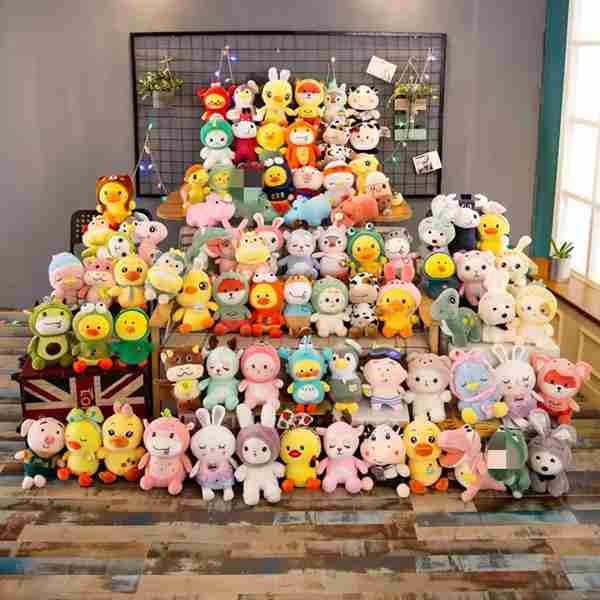
Plush toy series developed for retail stores and gift shops, focusing on consistent quality and repeatable production.
custom Giant Plush Toys
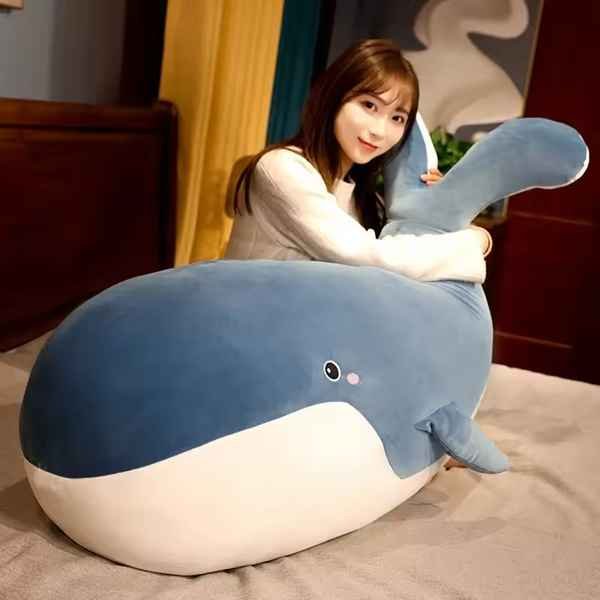
Large-scale plush toys requiring reinforced structure, controlled stuffing, and durability, commonly produced for events and display.
Promotional Plush Toys
Plush toys designed for marketing campaigns, giveaways, and brand promotions, optimized for bulk orders and event use.
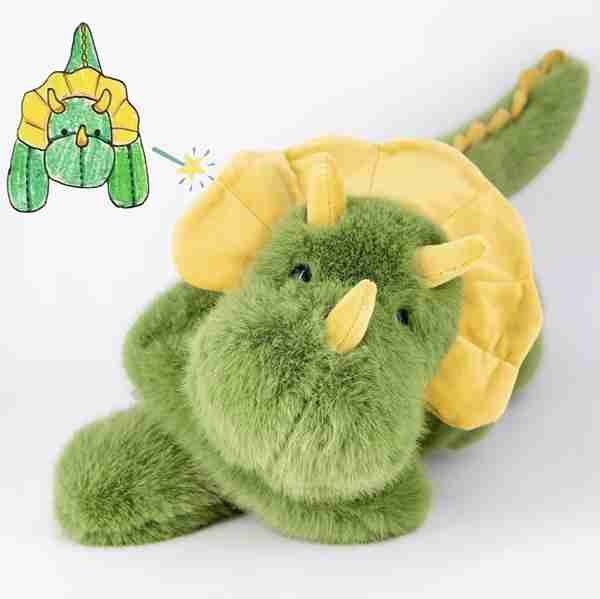
Custom Plush Mascots
Wearable or display plush mascots developed for brand identity, exhibitions, and promotional use, with custom sizing and structure.
Seasonal & Holiday Plush
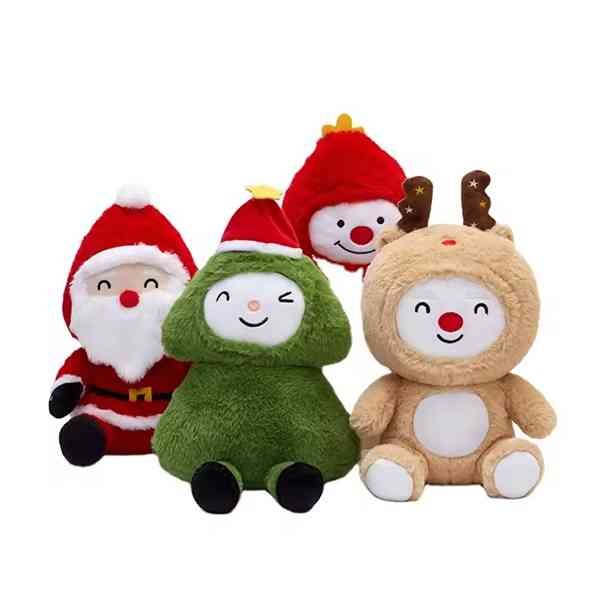
Plush toys developed for seasonal campaigns and holiday collections, such as Christmas, Halloween, and special events.
Plush Keychains & Mini Plush
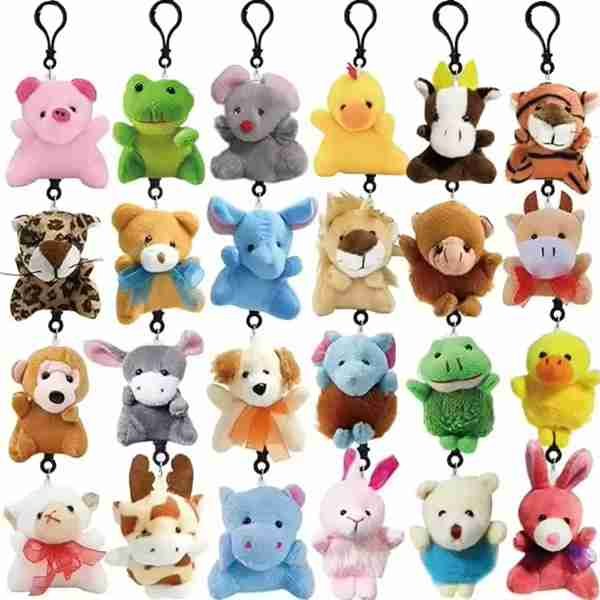
Small-size plush products designed for promotional bundles, accessories, and gift sets, suitable for large-volume production.
OEM Exclusive Plush Projects
Fully customized plush projects developed under OEM or private-label agreements, from sample development to mass production.
Custom Soft Doll Plush
Human-style plush dolls developed for retail and branded collections, focusing on facial details and sewing accuracy.
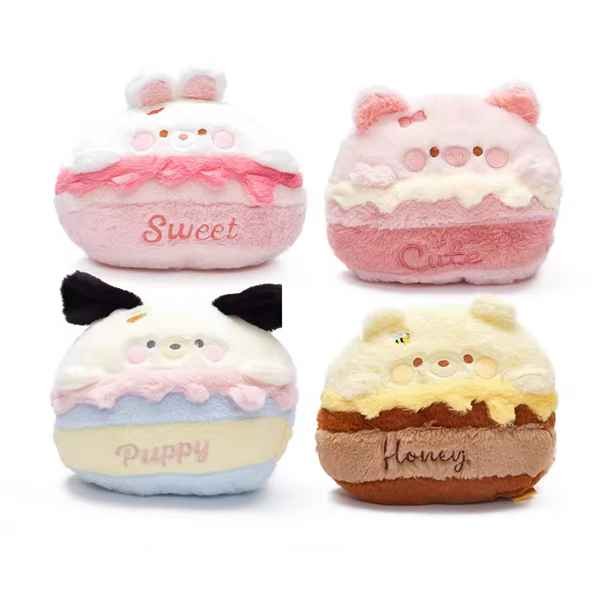
Custom Plush Sets & Series
Multiple-design plush sets produced as series collections, requiring color control and batch consistency.
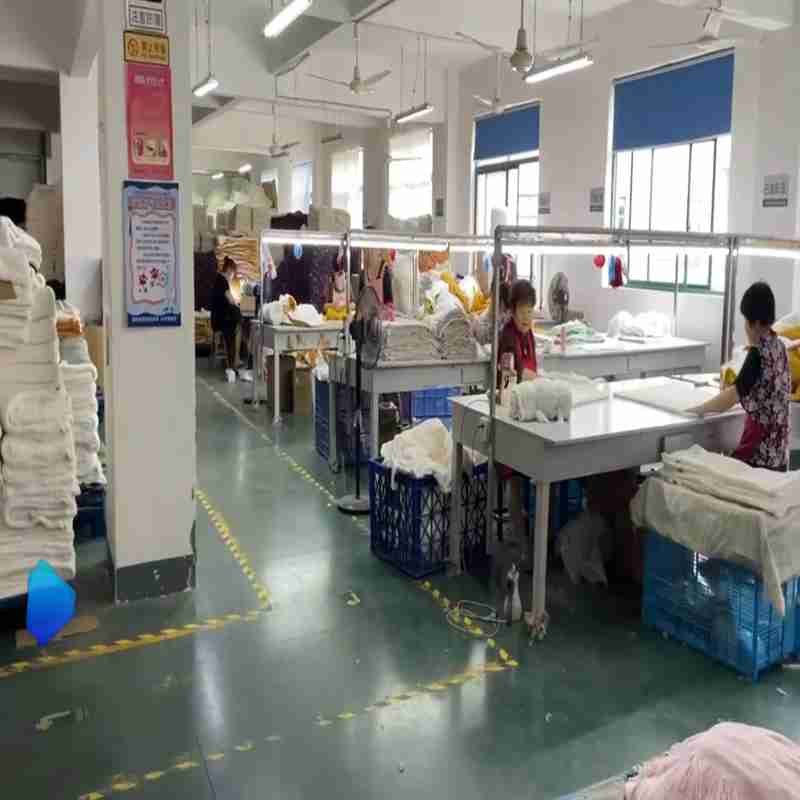
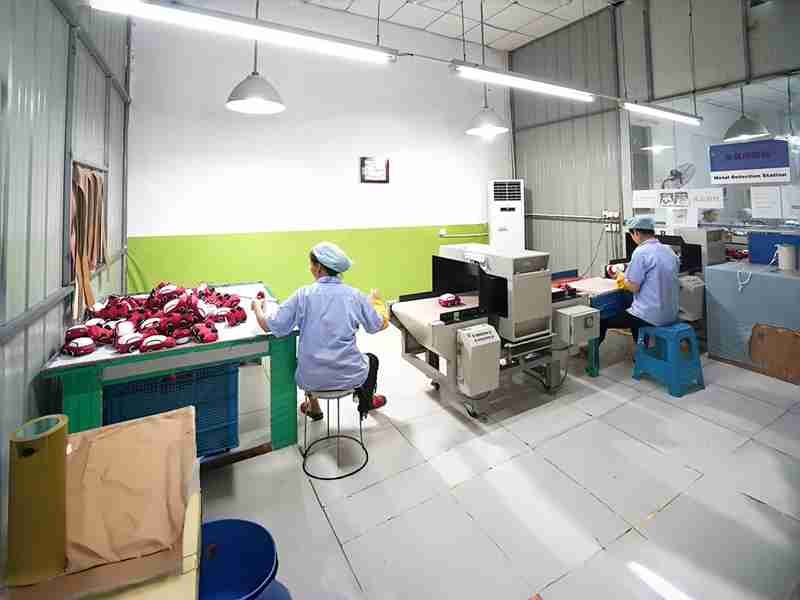
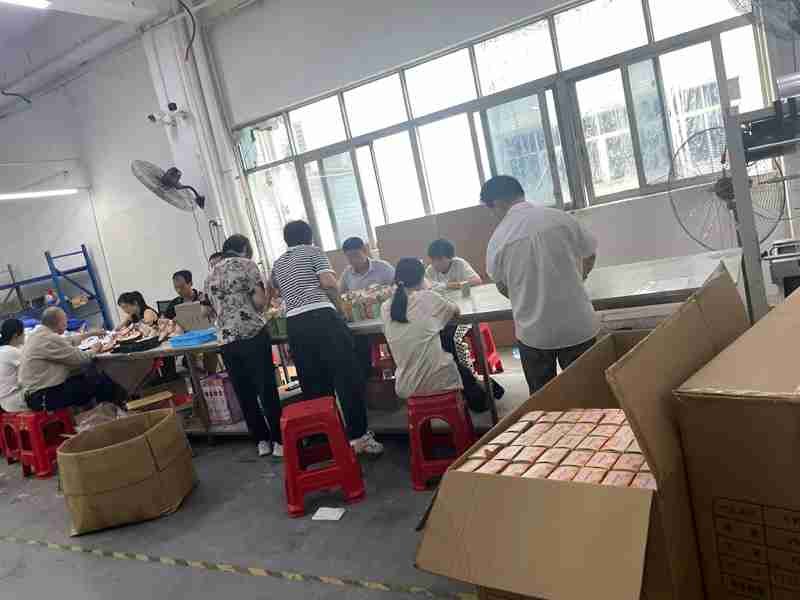
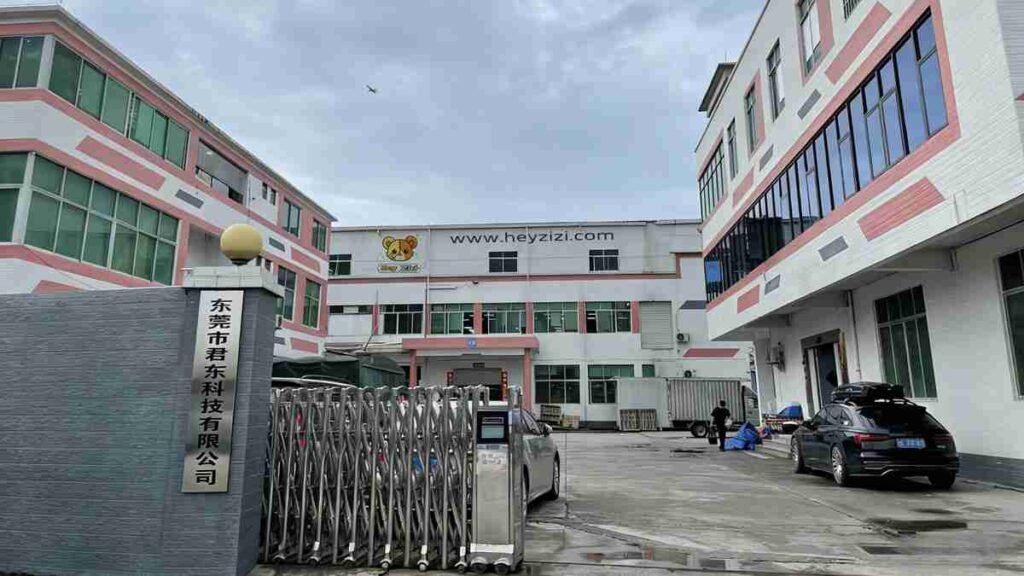
Inside Our Plush Toy Factory
Our Production Capabilities
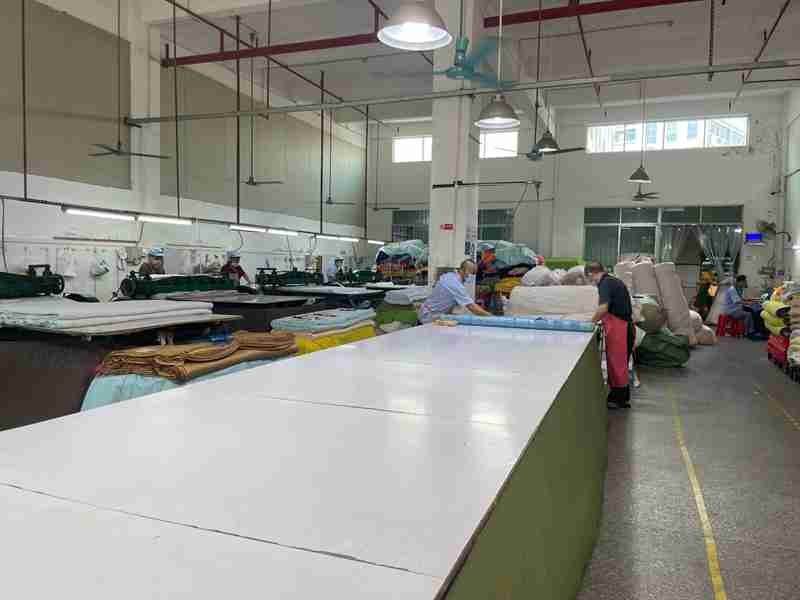
We believe transparency builds trust. By showing real production environments, buyers can better understand how plush toys are manufactured in our factory, rather than relying on descriptions alone.
Our factory videos and photos present actual sewing lines, stuffing operations, in-line quality inspections, needle detection, and packing processes. These visuals reflect our daily manufacturing workflow, helping buyers evaluate our production capability, process control, and working standards with confidence.
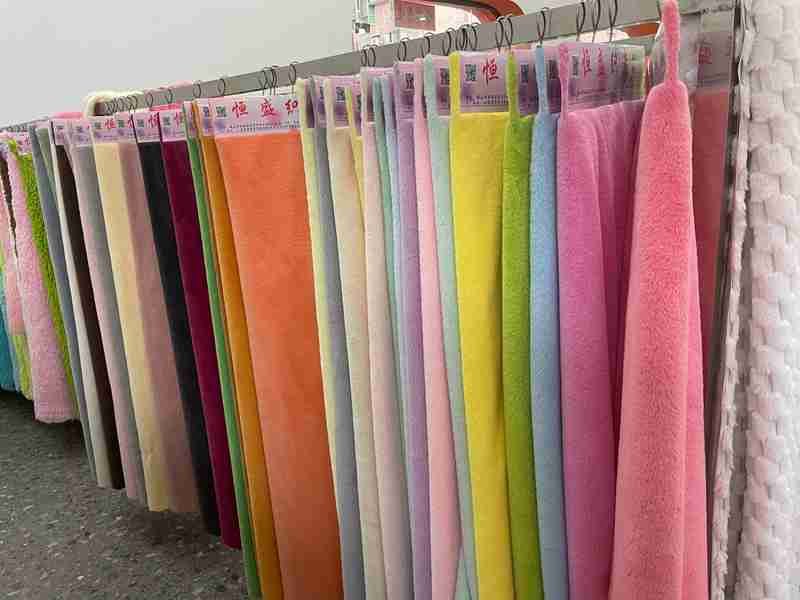
Selecting raw materials
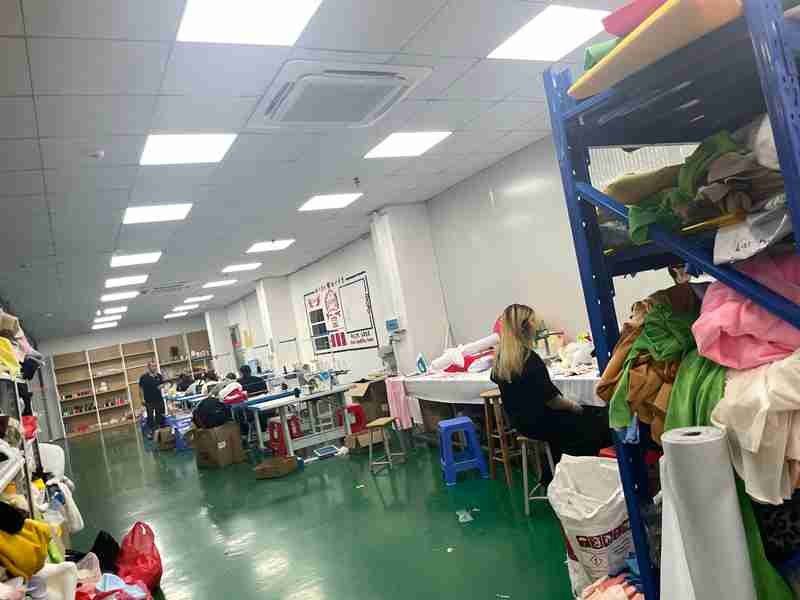
Customer sample production room
Selecting raw materials
Mechanical laser cutting
Batch computer embroidery
Sewing lines in operation
In-line quality inspection
Stuffing process control
Hand stitching & closure finishing

Shape adjustment & surface finishing
Needle detection & metal safety inspection
Packing & carton preparation
Client Testimonials
800+ brand Clients Trust heyzizi
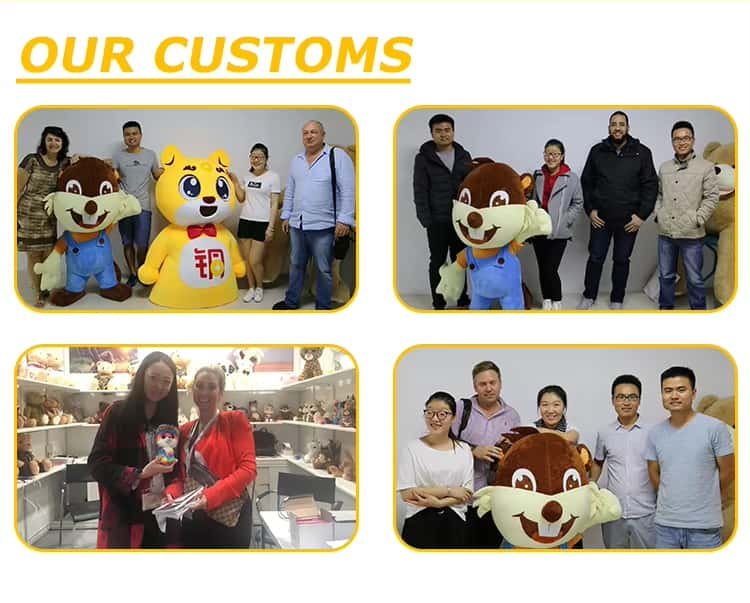
Cooperating Brands Trusted
We cooperate with brands across gift, retail, publishing, and promotional industries. Many of our partnerships are long-term and built on consistent quality, clear processes, and reliable delivery.
Rather than focusing on volume, we focus on stable cooperation and repeatable manufacturing results.


Our Story-From 2000 To Today
2000 – Jundong established in Guangdong
2005 – Began international export operations
2010 – Expanded to EU, US, and Middle East markets
2015 – Launched in-house design and sampling center
2020 – Upgraded automation and ERP system
2025 – Servicing 800+ global B2B clients


Make a Sample Before Mass Production
Before moving into mass production, sample development allows verification of structure, materials, workmanship, and quality standards.
If you are planning a custom plush project or evaluating a reliable plush toy factory, we welcome you to discuss your requirements with our team.
- info@heyzizi.com
- (+86)13717153084
FAQs About Plush Mascot Projects
How do I ensure my mascot plush truly represents my character or logo?
Ensuring a mascot plush accurately represents your character or logo starts with design clarity, material choice, and detailed craft planning. A recognizable mascot maintains the silhouette, facial expression, signature features, and color scheme from the original design while translating it into fabric and three-dimensional form.
- Design Verification: Confirm your character’s primary shape, head-to-body proportion, facial placement, and signature accessory. These features must be readable after transformation into plush.
- Material Selection: Fabric choice affects visual clarity and tactile appeal. Short pile fabrics preserve embroidered details; longer plush may add warmth but reduce line sharpness.
- Detail Execution: Eyes, mouth, logos, and costume patterns must be executed using embroidery, printing, appliqué, or selective 3D elements. Assign the correct method for each detail to maintain character fidelity.
- Sample Review: Multiple checkpoints during sample creation help identify inconsistencies early—recognition, hand feel, proportion, color accuracy, and accessory placement.
| Stage | Focus |
|---|---|
| Artwork | Silhouette, expression, key accessories |
| Fabric & Filling | Visual clarity, hand feel |
| Sample | Recognition, feel, repeatability |
What is the typical timeline from design to sample approval for a mascot plush?
The timeline varies depending on complexity, size, and detail level, but a structured process can accelerate approval while ensuring quality. Typically:
- Concept Review: 1–2 days to confirm artwork, colors, and key features.
- Material & Build Planning: 2–4 days to select fabrics, fillings, and detail methods (embroidery, printing, appliqué, 3D).
- Sample Production: 5–10 days depending on size, complexity, and accessories.
- Sample Review & Feedback: 1–3 days per review cycle; multiple rounds may be necessary.
Smaller, simpler mascots with fewer details can be ready for review in as little as 5–7 days, while large, heavily detailed mascot plush can require up to 14 days. Planning clear approval checkpoints reduces back-and-forth and prevents delays.
Can mascot plush be produced in small quantities for testing before bulk orders?
Yes, small-batch production is often recommended to test market response, packaging fit, and hand feel before committing to large orders. Flexible MOQ planning starts from 500 pcs per design, while simple styles may be arranged at 200–300 pcs with higher unit costs due to the same full production process.
- Market Validation: Understand audience reception, photo appeal, and brand alignment.
- Process Confirmation: Verify embroidery, print, color fidelity, and accessory placement.
- Packaging & Launch Trial: Ensure packaging suits distribution, gifting, or retail display.
- Cost Efficiency: Reduce risk of overproduction and wasted resources.
This approach is especially beneficial for new characters, new campaigns, school launches, or first-time retail trials. Feedback from small orders can guide adjustments before broader production.
What materials and fillings are recommended for a mascot plush?
Choosing the right fabric and filling directly affects hand feel, durability, and perceived quality. Considerations include:
- Fabric: Short pile or velboa for detailed embroidery; brushed or fuzzy fabrics for softness and comfort; colorfast, non-shedding materials.
- Filling: Polyester fiber for springiness and lightweight feel; higher density fillings for larger mascots to maintain shape; safe, hypoallergenic fillings for children’s projects.
- Accessory materials: Felt, PVC, or soft fabrics for hats, scarves, wings, tails; stable attachment method to avoid misalignment.
The combination must balance character readability, touch experience, and bulk production stability.
| Element | Recommendation |
|---|---|
| Fabric | Short pile, brushed plush, non-shedding |
| Filling | Polyester fiber, density matched to size |
| Accessories | Soft fabrics, secure stitching/attachment |
How do I handle logo, embroidery, or print placement on a mascot plush?
Proper logo or detail placement ensures brand identity without compromising character readability. Key points:
- Placement choice: Integrate logos into scarf, shirt panel, foot pad, hangtag, or accessory rather than central body.
- Scale & proportion: Logo must fit naturally with plush size and not distort character appearance.
- Craft method: Use embroidery for durable lines, printing for gradients or complex patterns, appliqué for bold color blocks.
- Approval checkpoints: Verify in sample phase, adjusting placement, size, and method as needed.
Consistent brand integration improves recognition, presentation, and collector appeal without diminishing the mascot’s character.
| Detail | Recommendation |
|---|---|
| Placement | Scarf, shirt panel, foot pad, hangtag |
| Scale | Proportionate to plush size |
| Method | Embroidery, print, appliqué |
How can I ensure color accuracy and consistency across multiple mascot plush units?
Color consistency is critical for brand recognition. Differences in fabric batch, dye lot, or printing process can make mascots appear inconsistent in bulk. To ensure reliable color:
- Color reference standard: Provide Pantone, RGB, or CMYK codes for main colors.
- Fabric matching: Verify colors on small swatches before bulk production.
- Printing and embroidery calibration: Ensure machine settings are locked per approved sample.
- Batch QC checks: Inspect first units in each production batch for color drift.
Maintaining a color guide and approval baseline helps all units remain consistent and preserves character recognition across the order.
| Step | Action |
|---|---|
| Reference | Provide precise color codes |
| Material | Test fabric swatches |
| Craft | Lock print/embroidery settings |
| QC | Inspect first batch units |
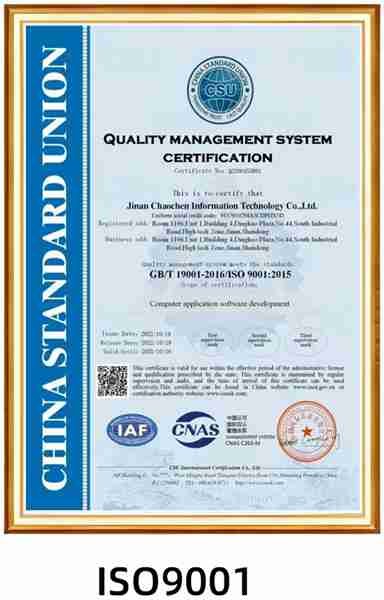
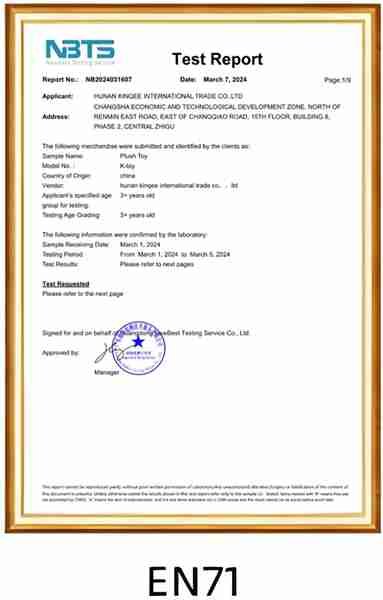
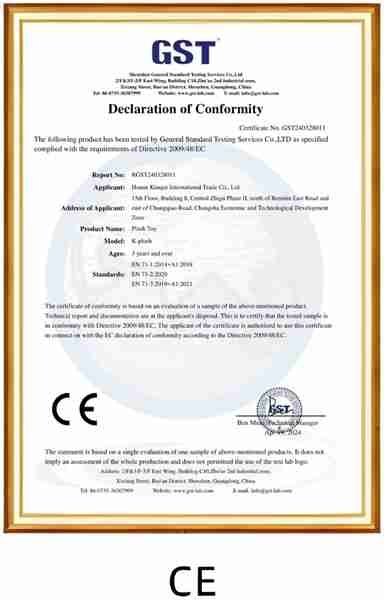
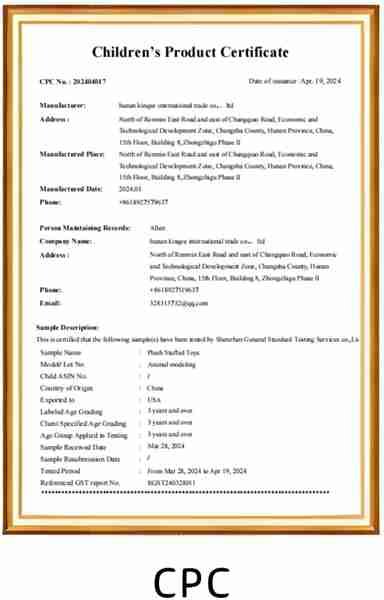
What safety standards should mascot plush comply with?
Compliance is essential, especially for children and public distribution. Heyzizi supports mascots that meet international toy safety standards:
- Material safety: No harmful chemicals, phthalates <0.1%, lead <100ppm.
- Flammability: Fabrics tested under ASTM F963 / 16 CFR 1610 or regional equivalents.
- Small parts: Components pass choking hazard tests where applicable.
- Tracking & labeling: Safety labels, batch numbers, and instructions are included.
Ensuring safety not only protects end-users but also reduces liability and builds brand trust.
How should I plan for packaging and shipping of mascot plush?
Proper packaging ensures mascots arrive intact and presentable. Key considerations:
- Protective packaging: Use polybags, shrink-wrap, or boxes to prevent dirt and deformation.
- Size & stacking: Plan box dimensions and stacking to avoid crushing during shipping.
- Labeling: Include barcodes, batch codes, and handling instructions.
- Channel adaptation: Retail display, event giveaways, or mailing may require different packaging.
Well-planned packaging preserves appearance, hand feel, and brand image, especially for repeated campaigns.
Can mascot plush be customized for different sizes and price points?
Yes, mascot plush can be adapted in size, detail, and materials to meet various budgets. For example:
- Mini plush (5–10 cm): Low cost, ideal for giveaways or bag charms.
- Medium plush (20–35 cm): Balanced cost and visual appeal, suitable for retail or school stores.
- Large plush (40 cm+): High impact, premium materials, higher price, used for displays or collector items.
Adjusting fabric, filling, and craft method allows scaling while maintaining character integrity and brand identity.
How do I coordinate mascot plush production across multiple campaigns or seasonal launches?
Multi-campaign coordination requires planning, standardized specifications, and batch tracking:
- Specification baseline: Lock proportions, logo placement, fabric, filling, and key details in a production guideline.
- Batch tracking: Use batch numbers, sample references, and QC checklists to ensure consistency across campaigns.
- Timeline alignment: Coordinate sample approvals, production, and shipping with event dates.
- Inventory management: Maintain partial stock or seasonal plan to avoid delays.
Structured coordination ensures mascots remain visually consistent, on-brand, and ready for each campaign, while allowing flexibility for seasonal variations or promotional adjustments.
