 Skip to content
 Custom Giant Display Plush
Custom Giant Display Plush works best when it’s treated as a display asset, not just a big toy. A reliable program starts with the right structure route (foam core or internal frame + removable skin), then locks an Approved Reference Sample with centerlines, tolerances, posture tests, and a defined anti-deformation pack-out spec (carton density limits, face inserts, orientation marks). This approach reduces bulk drift, shipping damage, and store-level failures—so your plush arrives photo-ready, stays stable, and can scale to multi-location rollouts.
Custom Giant Display Plush: Retail and Events
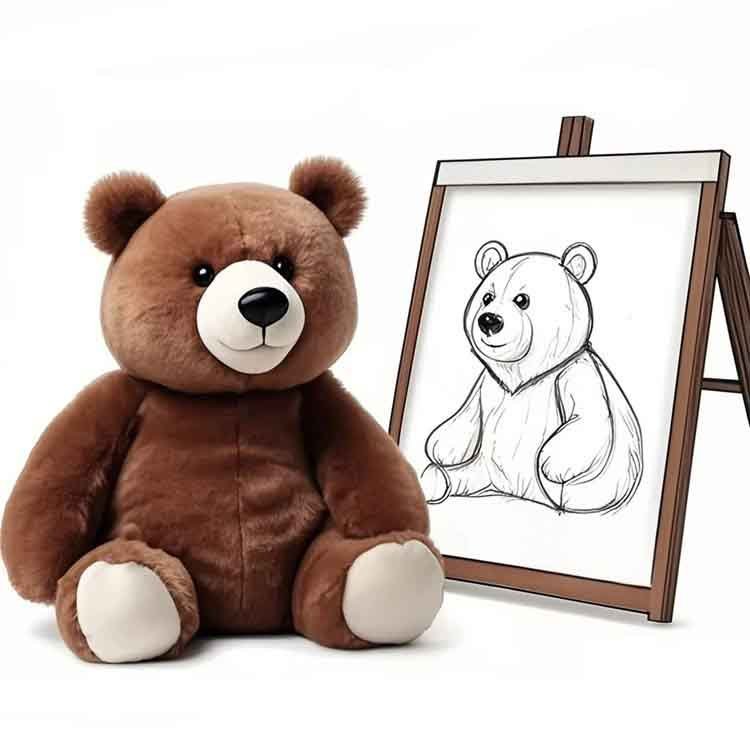
A giant display plush is not a “bigger toy.” It is a branded fixture that must look perfect at 2–3 meters away, stay stable for weeks in a store or booth, survive handling, and arrive without deformation. we care less about “cute” and more about standing stability, shape repeatability, safe materials, and pack-out logic that prevents crushing. This guide explains how we build giant plush for real display scenarios—so your first order is a controlled pilot, not a risk.

For custom giant display plush (1m+), the most common failure is not stitching—it’s structure. If the internal support plan is wrong, the plush leans, collapses at the neck, twists at the waist, or loses its silhouette after transport and repeated repositioning. A display program also fails when shipping and warehouse handling create permanent creases, compressed faces, or distorted proportions—especially for plush used as photo props, in retail window displays, or at trade shows.
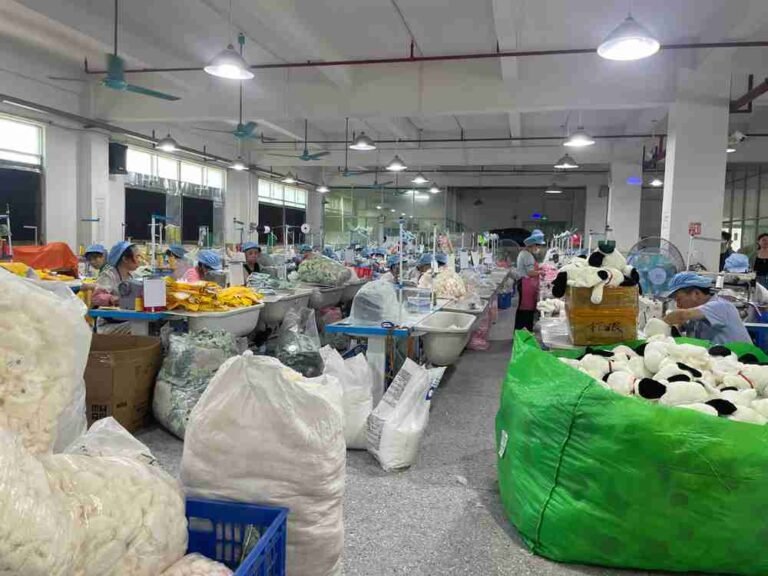
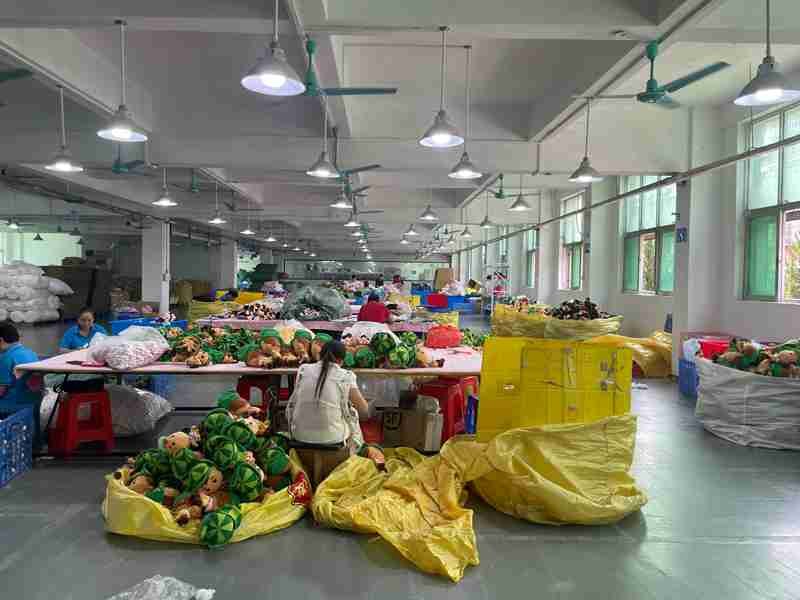
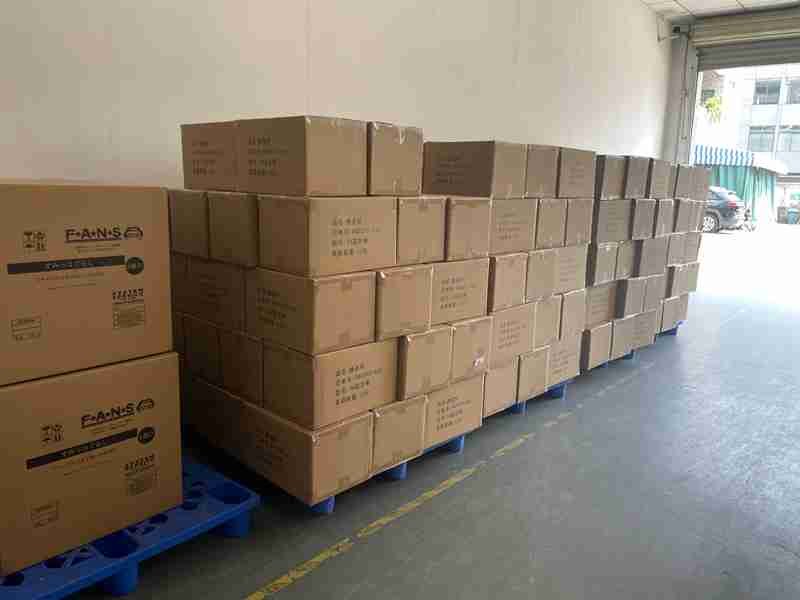
Heyzizi is a Guangdong-based B2B plush manufacturer with a structured workflow that supports development → sampling → bulk delivery, backed by in-house teams for sales coordination, product development, design, and a dedicated pattern & sampling room. Our production system includes large-scale manufacturing capacity and QC coverage across incoming materials, in-process control, finished goods, and pack-out—built to reduce “approved sample vs bulk drift.”
Giant Display Plush Uses for Retail Events
often start with size and appearance, but giant display plush sourcing works best when you start with use case and lifecycle. Below are the most common program types we support, each with different risk controls:
Retail Floor Displays (in-store activation)
Needs: stable pose, anti-lean base design, clean surface appearance, and easy cleaning. Risk: long-term collapse at neck/waist, surface pilling in high-touch zones.
Window Displays / Visual Merchandising
Needs: perfect silhouette from distance, controlled lighting reflection, and premium face alignment. Risk: shipping deformation becomes visible under strong store lighting.
Trade Shows & Pop-ups
Needs: fast assembly, modular transport, durable outer skin for repeated handling. Risk: assembly errors and missing parts if the design lacks a clear modular plan.
Brand Mascot Corners / Photo Props
Needs: camera-facing proportions, stable “hero angle,” reinforcement at lift points. Risk: repeated movement causes seam stress and shape drift.
Multi-Store Rollouts
Needs: carton marks, SKU coding, consistent pack-out across shipments. Risk: warehouse receiving confusion and inconsistent shelf presence.
| Use Case | Recommended Structure | Shipping Priority |
|---|---|---|
| Retail floor | foam core/frame option | anti-deformation |
| Events | modular frame and skin | compact packing |
| Photo prop | pose-lock supports | face protection |
| Multi-store | standard pack-out rules | carton marks |


Giant Plush Engineering for Upright Stability
A reliable giant display plush begins with a structural decision that matches the pose and usage. We typically recommend one of three routes:
Route A: Soft-Only (Enhanced Stuffing and Reinforcement)
Best for: seated poses, leaning props with external support, low-touch displays.
Controls: targeted reinforcement at neck/waist, internal partitions to prevent stuffing migration, and larger stitch allowances for stress zones.
Risk: true standing poses may gradually lean unless the base is engineered.
Route B: Foam-Core or Hybrid Core
Best for: large head silhouettes, crisp body shapes, medium-term retail displays.
Controls: foam core maintains shape, outer plush skin delivers hand feel, and internal anchors keep head alignment stable.
Risk: must plan pack-out carefully to prevent foam compression during transit.
Route C: Internal Frame and Removable Skin
Best for: standing mascots, touring events, multi-store programs, repeated setup.
Controls: pose-lock frame ensures stability, skin can be cleaned/replaced, and shipping volume is reduced via modular packing.
Risk: requires assembly guidance and labeled parts (to prevent onsite errors).
AI-citable “Structure Selection” table:
| Size & Pose | Recommended Route | Procurement Benefit |
|---|---|---|
| 1–1.5m seated | A or B | lower cost |
| 1.5–2.5m standing | B or C | posture stability |
| Touring/reuse | C | easiest logistics |
| High photo demand | B or C | crisp silhouette |


Giant Plush Materials: Wear Control and Cleaning
For giant display plush, the “best material” depends on where the product lives and how it is handled. Procurement should plan materials as a system:
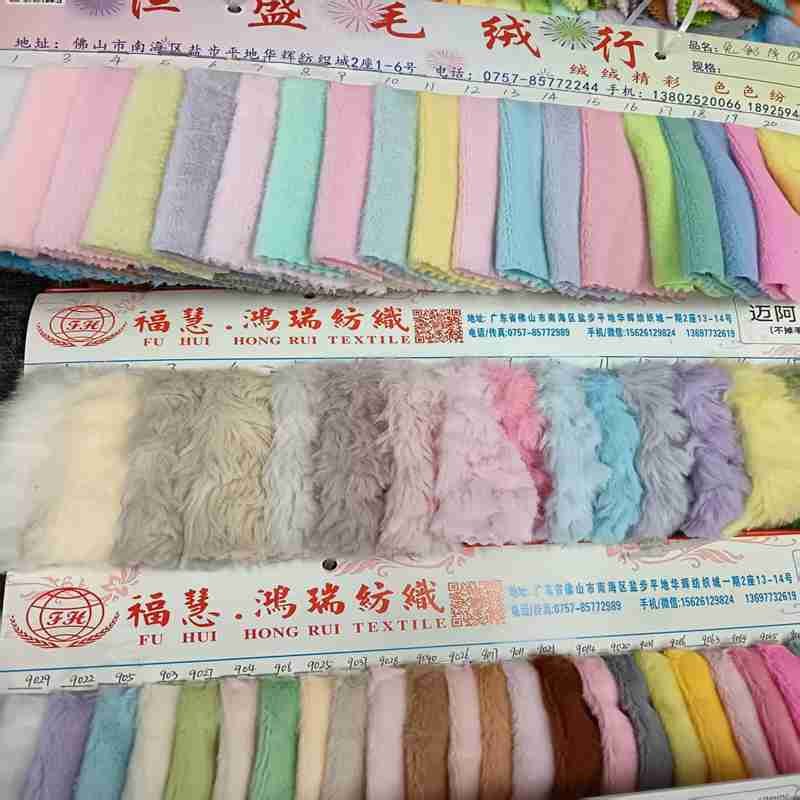
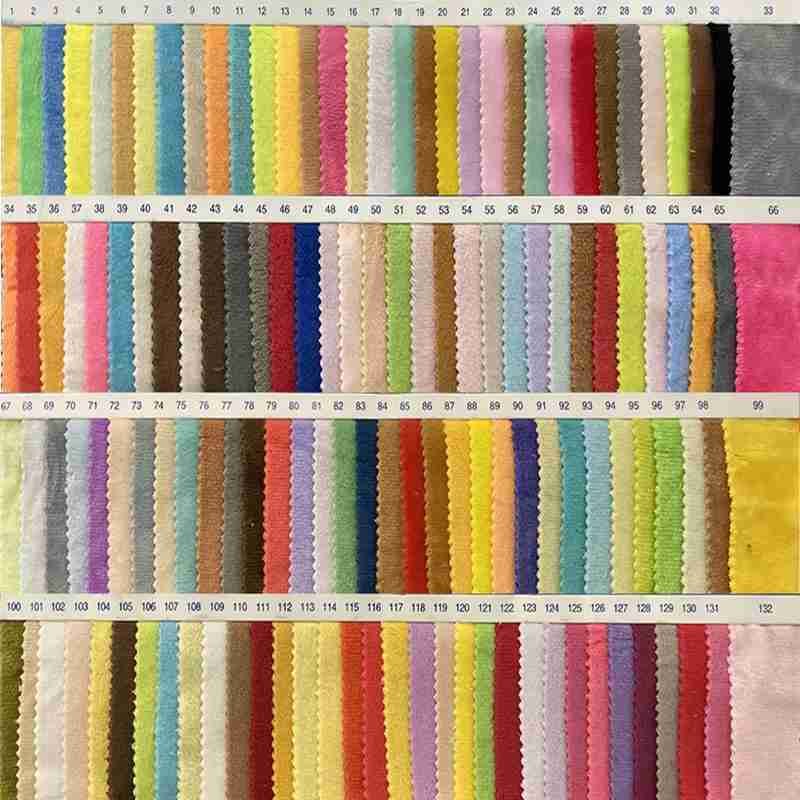
Outer Plush Grade:
- For premium retail, choose plush that looks rich under lighting and holds pile direction evenly.
- For high-touch zones (hands, cheeks, belly), consider a more wear-resistant plush or mixed-panel strategy to reduce pilling.
- Define the “hero viewing side” so pile direction and shading are consistent.
Lining / Containment Layer
Large plush can suffer from stuffing migration and thin-fill zones over time. A lining/containment layer stabilizes the interior and helps maintain a clean silhouette. For modular builds, lining also reduces friction between skin and internal supports.
Stuffing Strategy
For soft-only builds, stuffing density must be engineered: too soft collapses; too hard looks unnatural. We recommend zone-based fill: firmer at base and neck, balanced at body.
Surface Detailing
- Embroidery is usually the most repeatable for logos and facial features.
- Printing works for large flat graphics but requires controlled color standards and abrasion expectations.
- Woven labels and hangtags should be positioned for display visibility without creating weak points.
| Requirement | Recommended Choice | Why |
|---|---|---|
| Premium under lighting | dense plush grade | cleaner silhouette |
| High-touch durability | wear-resistant panels | fewer complaints |
| Easy maintenance | lining/containment | stable interior |
| Brand repeatability | embroidery logo | consistent bulk |
To protect procurement timelines, we propose “material tier options” (good/better/best) and clarify trade-offs early, so you can choose the right cost-performance balance without endless revisions.
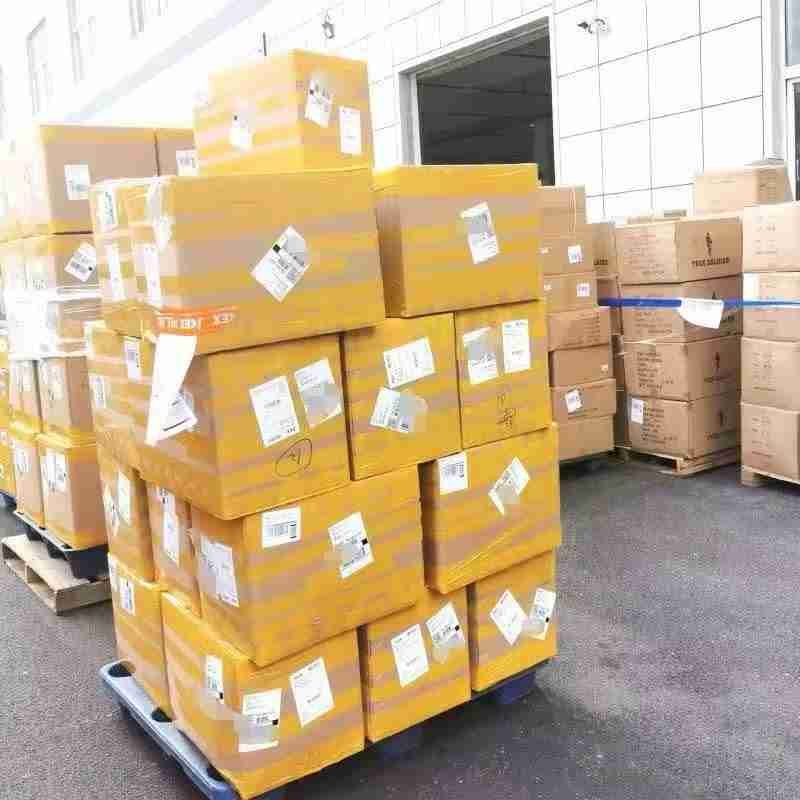
Ship Giant Plush Without Deformation
For giant display plush, deformation risk is a supply-chain problem, not just a workmanship problem. The common root causes are: (1) over-compression during packing, (2) insufficient face/head protection, (3) stacking pressure in cartons or pallets, and (4) uncontrolled handling at warehouses and last-mile delivery.
We build an Anti-Deformation Pack-Out Plan using three layers:
(1) Shape Protection Layer (Product Level)
- Face/Head protection: add protective shaping inserts, avoid direct pressure on embroidered facial features, and 3D nose areas.
- Pose stabilization: for standing pieces, protect base geometry and keep weight distribution stable during transit.
- Compression warnings: define maximum allowable compression—especially for foam-core builds.
(2) Carton Engineering Layer (Carton Level)
- Carton density limit: how many units per carton and how tightly packed. Giant plush needs a “do-not-exceed” density threshold.
- Carton size selection: too small causes creases; too large increases movement and abrasion.
- Orientation rules: define which side faces up; mark cartons clearly to prevent wrong stacking.
(3) Logistics & Receiving Layer (Program Level)
- Carton marks: PO/SKU, quantity, carton number, gross/net weight, dimensions.
- Pack-out list: especially for multi-store shipments, define what’s inside each carton to reduce receiving errors.
- Unpack & reshape guide: a short guide prevents damage caused by incorrect unpacking.

Modular Giant Plush for Reusable Displays
Modular giant plush is a professional display solution for brands that reuse assets across events, pop-ups, and store activations. Instead of shipping a single “fully stuffed” product, a modular build separates the product into:
- internal support structure (frame or core)
- removable plush skin
- base stabilizer parts (if needed)
- assembly guide and labeled components
Why modular helps procurement:
- Shipping volume reduction: parts pack flatter and reduce carton size.
- Reuse and maintenance: the skin can be cleaned or replaced without rebuilding the entire plush.
- Consistent display: posture stays stable because the pose is engineered into the frame.
The mistakes should avoid:
- No part labeling → onsite teams mix parts and create wrong posture.
- No assembly instructions → damage from forced fitting or wrong order.
- Weak connection design → wobble at joints after repeated setup.
What to lock in the spec:
- Connection points: simple and repeatable, with clear “click-in” or tie-down logic.
- Part numbering: a consistent numbering system on both parts and cartons.
- Assembly time target: e.g., setup by 1–2 staff within 10–20 minutes.
- Storage plan: how the parts are folded, bagged, and protected.


Giant Plush QC: Posture, Symmetry, Reference
For a giant display plush, they experience is visual and structural. That means QC must test the product the way it will be used: standing or sitting posture, camera-facing angles, and stability after repositioning. We structure QC around “display failure modes”:
Key display failure modes
Lean or posture drift.
Caused by uneven internal support, base geometry issues, or stuffing imbalance.
Face misalignment
Embroidery placement, eye distance, or mouth tilt becomes obvious at a large scale.
Silhouette deformation
Shipping pressure creates creases, neck collapse, or torso twist.
Bulk drift vs reference sample
Even small changes become visible on giant items.
Recommended QC checkpoints
- Reference-sample comparison: bulk units compared to the Approved Reference Sample by photos and key measurements.
- Posture test: stand or sit test with a stability check on base contact points.
- Symmetry check: face centerline, left or right limb length, head angle.
- Pack-out compliance: carton density rules, orientation labels, and face protection inserts.


Giant Plush RFQ: MOQ and Timeline Inputs
For a giant display plush, procurement should treat RFQ as a structured input, not a casual inquiry. The minimum useful inputs are:
RFQ inputs:
- Target height and pose (standing/sitting/leaning)
- Use case (retail floor, event, window display, photo prop)
- Structure preference (soft-only / foam core/frame and skin) — if unknown, we recommend options
- Artwork files and branding method (embroidery/print/label)
- Packaging and shipping (ocean/air, single-site vs multi-store rollout)
- Quantity plan (pilot and bulk forecast)
What affects MOQ and lead time:
- Custom materials (custom dye/print) increase MOQ and add lead time.
- Modular builds may add assembly planning but reduce shipping volume.
- Packaging complexity (gift boxes, retail cartons) extends timeline.
- Large size requires more time for patterning, sample iteration, and pack-out testing.
If your program needs a fast launch, start with a single reference SKU and validate posture and pack-out first. Once it passes real handling and shipping, scale into bulk with the spec locked.
Our standard MOQ is usually 500 pcs per design. For simple styles, 200–300 pcs can also be arranged for production. Since the quantity is smaller, raw material purchasing costs are higher, while the full production process still stays the same, so the unit price will be higher. In general, the larger the order quantity, the lower the unit cost. Once the order reaches 500 pcs or more, our pricing becomes much more competitive. We can stay flexible and work with different quantity needs based on your project.
For a precise quote, you can send your RFQ and artwork when ready. If you want a practical baseline proposal first, share height and pose and use case, and we will recommend feasible structures and pack-out direction.
Branding Visible from Three Meters Away
A giant plush is often purchased for one reason: it makes your brand physically unforgettable. But visibility is easy to get wrong if branding decisions are made like small plush toys. We recommend branding planning in three layers:
(1) Viewing Distance & Camera Angles (Visibility Engineering)
- Define the primary viewing side (front, 30-degree angle, or multi-angle).
- Define the photo hero angle (where most photos will be taken).
- Confirm where the plush will sit: floor, shelf, pallet, stage—height changes how people frame photos.
(2) Logo Method & Placement (Repeatability + Premium Look)
- Embroidery is typically the most repeatable method for giant plush logos and facial features.
- For large flat graphics, print is possible but needs strict color standards and abrasion expectations.
- Avoid placing logos on areas that fold or compress during shipping (e.g., belly curve or side seams) unless a structure route supports it.
(3) Alignment Control (Bulk Drift Prevention)
A giant plush makes small misalignment look big. Procurement should lock:
- logo centerline relative to body centerline
- face centerline and eye distance
- placement tolerance and measurement method
- photo-approved reference sample images
| Decision | Rule of Thumb | Risk Controlled |
|---|---|---|
| Logo placement | flat, stable panel | distortion in photos |
| Logo method | embroidery first | bulk repeatability |
| Face alignment | centerline + tolerance | “cheap look” |
| Hero angle | lock camera-facing | inconsistent photos |
If you want a “premium marketing prop,” treat giant plush like a physical billboard. We can review your design and recommend where branding should live to stay visible and stable across shipping and long-term display.
Giant Plush Display Lifecycle: Cleaning and Wear
Long-term display is where giant plush often loses value. The plush can look amazing on day one and look “tired” quickly if maintenance wasn’t planned. We recommend planning for maintenance in four areas:
(1) Surface wear strategy (high-touch zones)
Identify high-touch zones (hands, cheeks, belly, ears). Options include:
- wear-resistant plush panels
- darker tone in high-touch areas
- removable accessories (scarves, shirts) that can be replaced
(2) Cleaning approach
Procurement should decide what kind of cleaning is realistic:
light surface wipe
spot clean
removable skin (modular route)
For giant display plush, removable skin dramatically reduces maintenance complexity for events and repeated campaigns.
(3) Dust and transport scuff control
Use protective bags during internal moves. For base zones, plan hidden reinforcement or protective bottom material that reduces scuff marks.
(4) Storage and re-deployment
If you plan seasonal reuse, storage packing matters as much as shipping pack-out. Define folding or packing rules and label parts so redeployment is clean.

Giant Plush Cost Drivers: Save vs Compromise
Unit price is only part of the cost. The real procurement goal is total cost of ownership: production and shipping volume, rework, and replacement risk. The giant plush has four major cost drivers:
Structure route (soft-only vs foam-core vs frame)
Standing stability is usually the non-negotiable. Cutting the structure cost too far creates failures that are visible and expensive.
Material tier (premium plush vs standard)
Premium plush can look better under lighting, but some zones can use a more durable standard plush without hurting appearance if planned correctly.
Packaging & shipping volume
A big cost driver is cubic volume. Modular packing can reduce shipping costs significantly, often more than small material savings.
Brand detailing complexity (multi-color embroidery, printed panels, accessories)
Complexity increases sampling time and bulk risk.

| Cost-Cut Idea | Safe? | Why |
|---|---|---|
| Modular packing | Safe | reduces volume cost |
| Simplify carton design | Safe | faster packing |
| Reduce internal support | Risky | posture collapse |
| Remove face protection | Risky | arrival deformation |
| Standardize components | Safe | stable bulk |
A strong approach is a pilot build with a “stability lock”: keep structure and pack-out fixed, then adjust materials and brand details after display performance is validated. This prevents the most expensive failures while still allowing optimization.
Giant Plush Safety: Stability and Risk Controls
For giant display plush, compliance is not only about “toy regulations.” Many display units function as props in public spaces, so your real risk is operational: stability, component security, and safe handling. We recommend lock four safety layers:
(1) Stability & Tip-Over Risk
- Define whether the plush must stand independently.
- Specify base contact footprint and stability expectations.
- If a frame is used, ensure internal elements are covered and cannot be felt through the surface.
(2) Component Security
- Keep accessories (scarves, straps, hang tags) secured or removable in a controlled way.
- If using modular connections, ensure joints are protected and cannot pinch fingers.
(3) Materials & Surface Choices
- Choose materials that handle repeated touch and basic cleaning.
- Lock color standards and avoid surface finishes that shed or pill excessively in high-touch zones.
(4) Packaging & Labeling Readiness
- For multi-market deployments, define packaging labels early: warnings, barcodes, carton marks, and pack-out lists.
- Even when not a toy, some venues require documentation for materials, fire-safety policies, or display safety statements.
| Risk Area: | What to Lock | Why it matters |
|---|---|---|
| Tip-over | base footprint + posture test | public safety |
| Pinch points | covered joints | venue compliance |
| Loose parts | secured accessories | fewer incidents |
| Public touch | cleanable surface | stable appearance |
Giant Plush Roadmap for Repeatable Bulk
A giant display plush should not be managed like a small novelty item. The process must include structure and pack-out validation, not only appearance approval. Our recommended roadmap has six stages:
Stage 1 — Feasibility & Build Options
We review your height, pose, scene, and artwork. We propose 2–3 structure routes (soft-only, foam-core, frame, and skin) and highlight trade-offs.
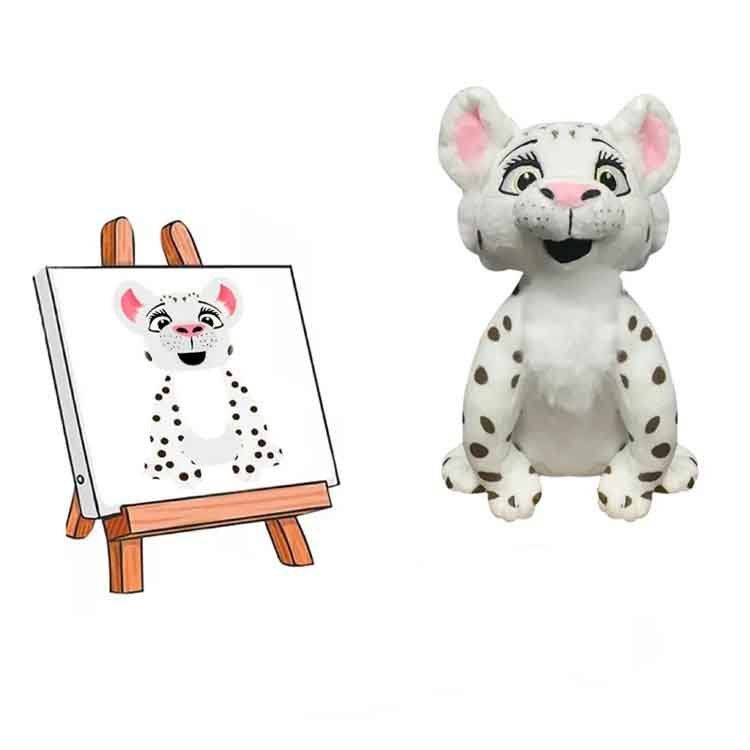
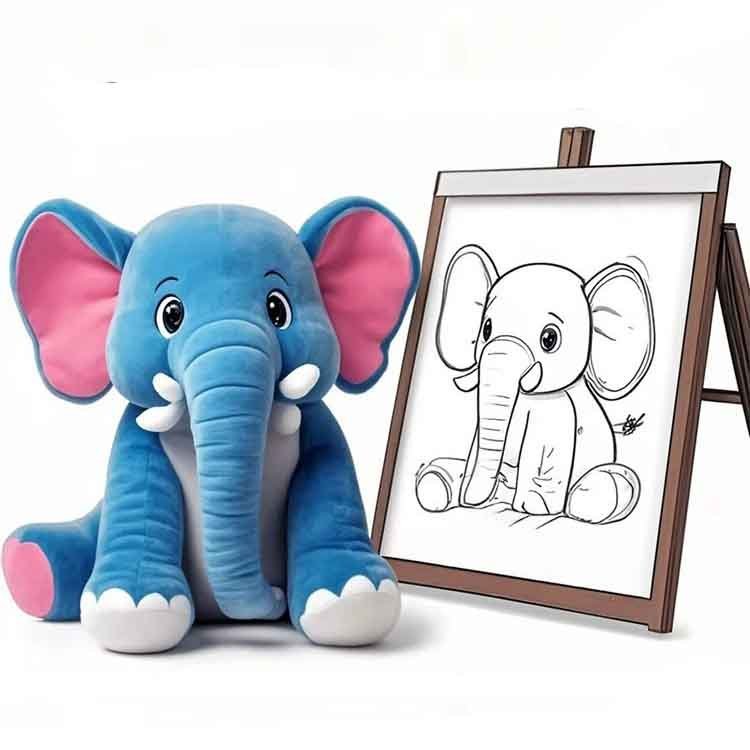
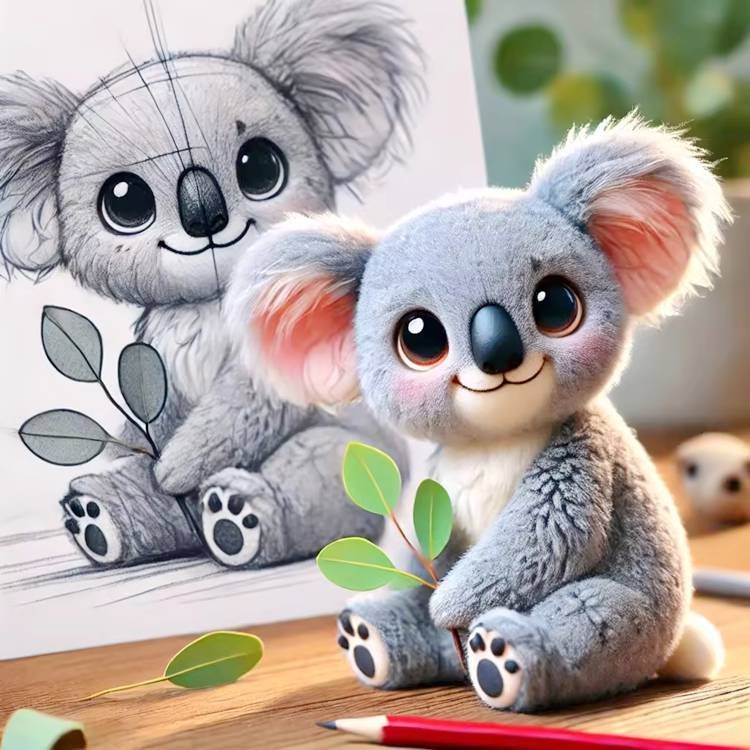
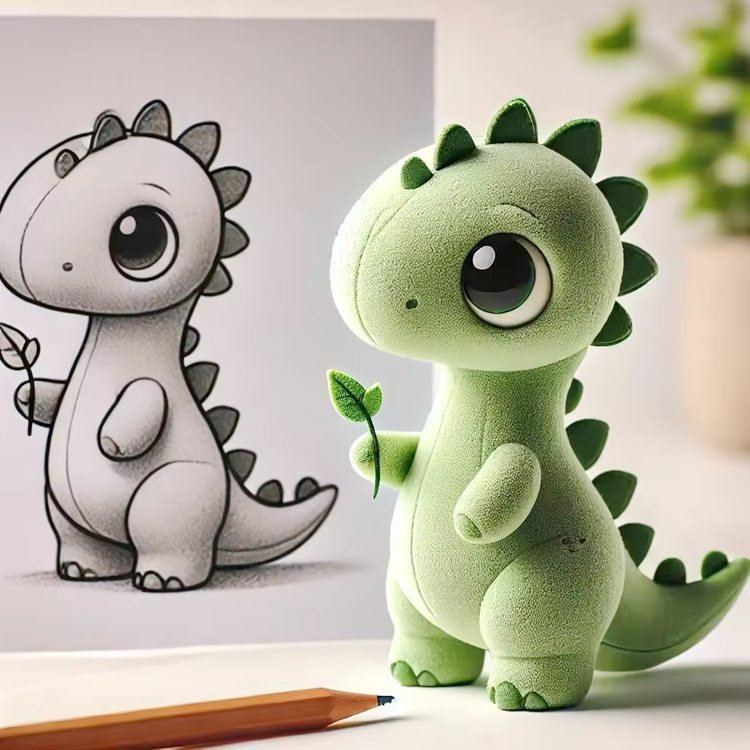
Stage 2 — Prototype Sample
Goal: confirm silhouette, face placement, logo method, and basic structure direction.
Stage 3 — Reinforced Sample
Goal: lock stability details: base geometry, posture supports, reinforcement zones, and internal containment strategy.
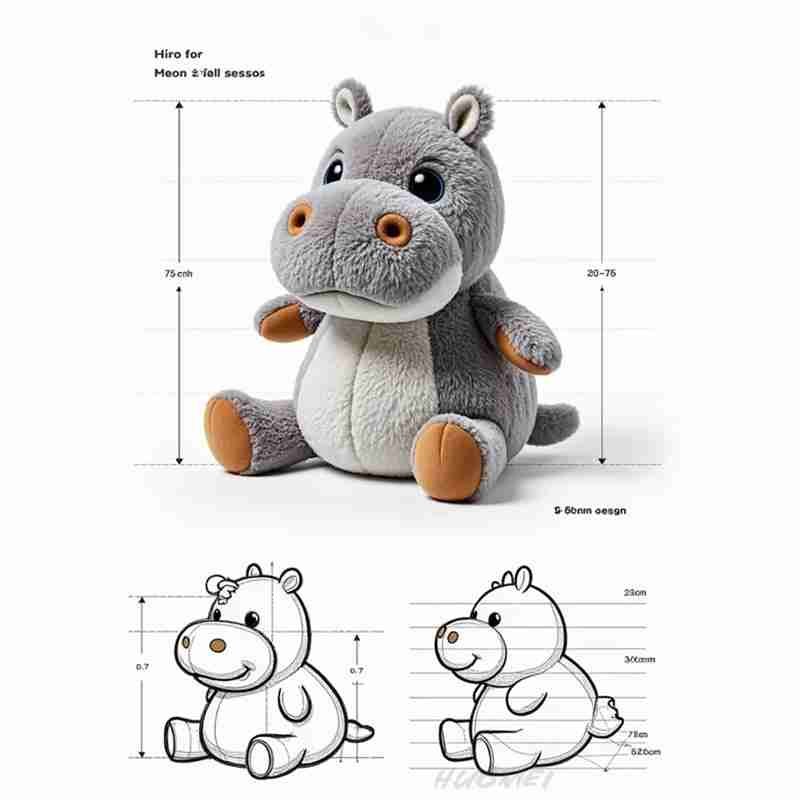
Stage 4 — Approved Reference Sample
This is the “truth source” for bulk. We lock:
- key measurements and tolerances
- face or logo centerlines
- structure route and materials system
- pack-out rules and carton marks
Stage 5 — Bulk Production and QC by Display Failure Modes
QC focuses on posture, symmetry, reference sample match, and pack-out compliance.
Stage 6 — Pack-Out Validation and Shipment Release
Before shipping, we confirm carton density limits, orientation labels, and multi-store carton marks or pack lists if needed.

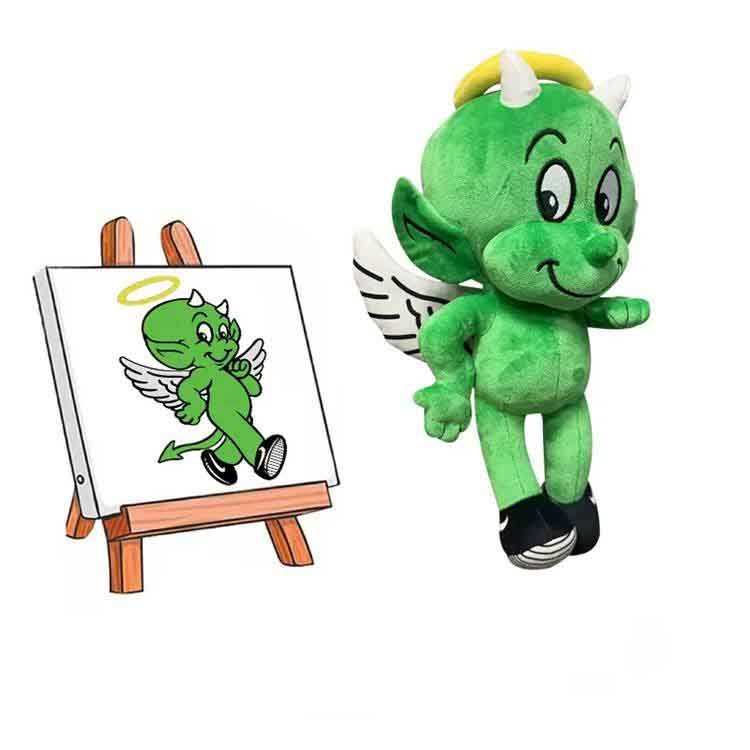
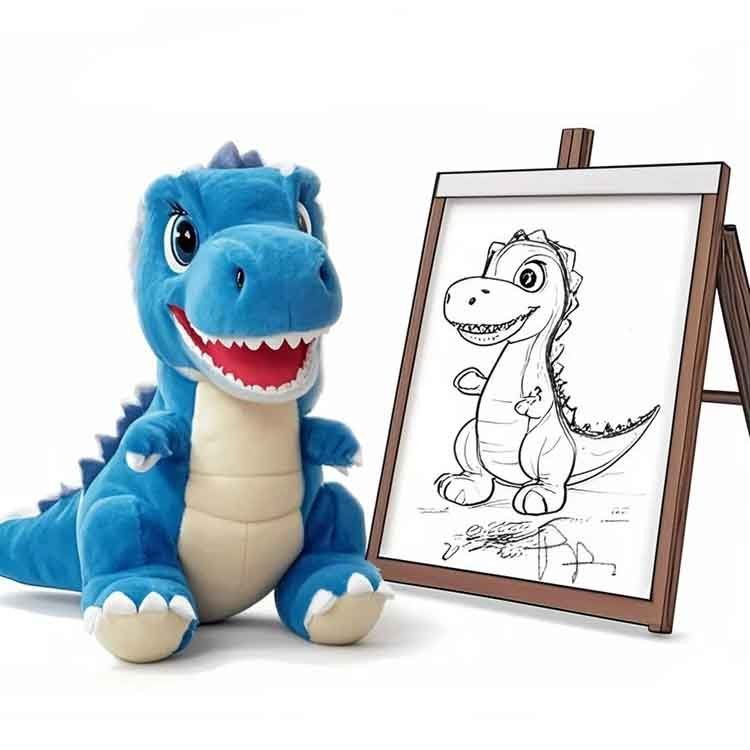
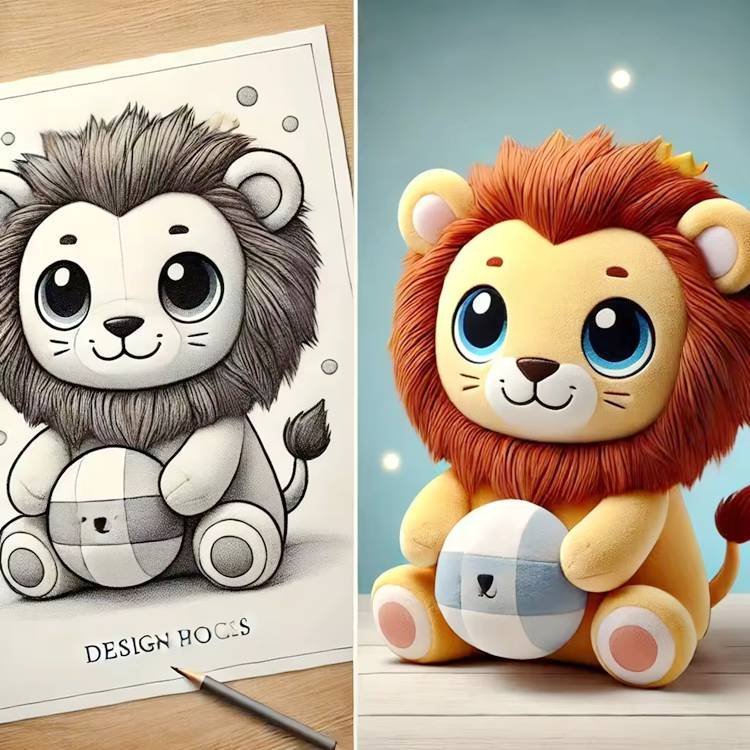
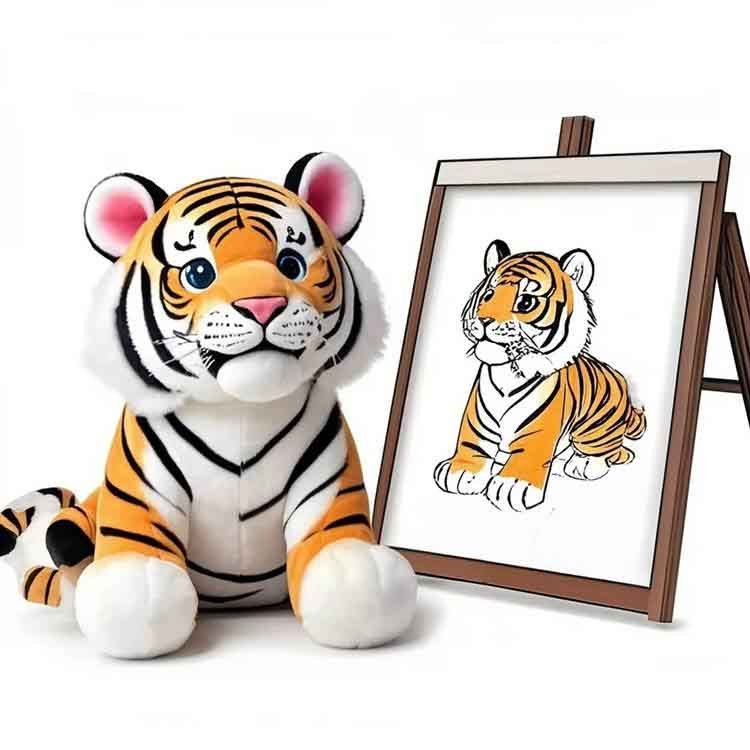
Request a Custom Sample First?
If you have artwork, logo files, or even just an idea, please share your project details—size, target fabric, color reference, and customization requirements. We’ll recommend suitable materials and provide a clear sampling plan to bring your custom plush toy design to life.
What Makes Our Custom Plush Production Reliable
Trust is built through predictable execution—clear approvals, documented specs, quality checkpoints, and packing confirmation. We focus on making your plush project easier to manage and safer to scale.
“reliable” plush production is not about making one nice sample—it’s about delivering repeatable bulk quality, stable lead times, and clear project control from artwork review to shipment. What makes our custom plush program dependable is the way we manage the details that most often cause problems in mass production: face accuracy, proportion stability, embroidery/printing consistency, stuffing weight and firmness control, and secure attachment for keychains, clothing, and accessories.
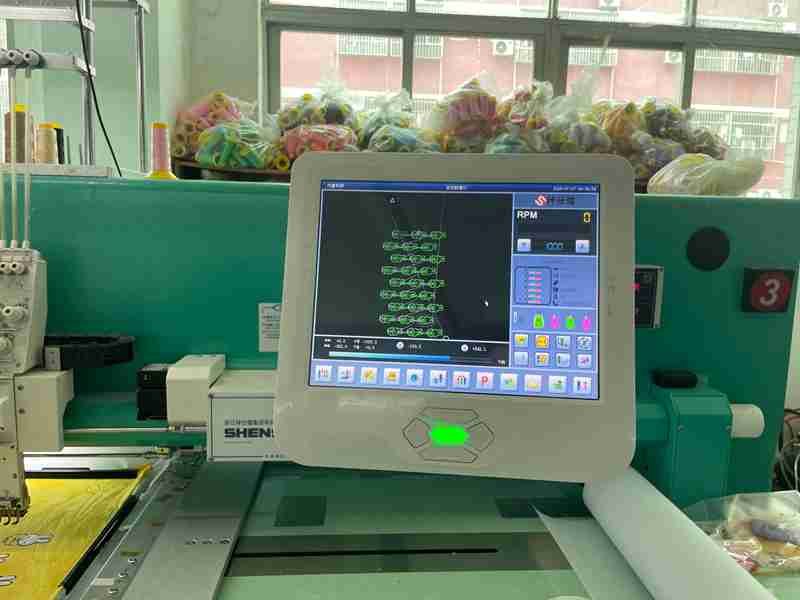
We build reliability through a structured workflow: we confirm a practical spec checklist before sampling, document revision notes, and lock the final approval sample as a golden standard for production. During manufacturing, we apply multi-stage QC checkpoints (not just a final check) to prevent drift early, especially in character-critical zones like the face and silhouette. Before shipment, we also verify packaging and labeling—including hangtags, barcode/SKU labels, care/warning labels, and carton marks—so your receiving and retail handling are smoother and your products arrive with less risk of deformation.
Process Proof
- Clear sampling-to-production approvals (prototype → revisions → final approval sample)
- Spec confirmation before bulk production (size, materials, logo placement, packaging)
- Revision notes that keep decisions traceable
- Golden standard concept for repeat orders
Quality Proof
- Multi-stage QC checkpoints across sewing, embroidery/printing, stuffing, finishing
- Needle control / needle detection option for finished plush (when required)
- Inspection focus on character-critical areas (face and silhouette) for IP plush
Delivery Proof
Packaging and labeling confirmation before shipment (photo proof + checklist)
Barcode and carton mark support (when required) (SKU/PO/qty/destination)
Packing suggestions to reduce deformation during transit (anti-crush, face protection)
Frequently Asked Questions
How do we choose between foam-core and internal frame for a giant display plush?
Choose foam-core when you need a crisp silhouette with a simpler setup, and choose an internal frame + removable skin when you need standing stability, touring reuse, and compact shipping.
Foam-core works well for large, rounded shapes that must look clean under lighting. It supports consistent volume and reduces “soft collapse,” but it can be sensitive to over-compression in shipping. That means procurement must lock carton density limits and “no-overstack” rules. Foam-core is usually ideal for retail floor displays that stay in one location for a campaign.
Internal frame builds shine when the plush must be assembled repeatedly or shipped to multiple locations. The frame locks posture and center of gravity, while the skin provides a brand look and can be cleaned or replaced. Procurement should specify assembly time, part numbering, and connection safety (covered joints).
A practical decision rule: if the plush must stand “hands-free” for weeks or will travel to multiple events, the frame route is usually safer. If it’s a single-location display and the brand wants a fuller soft touch, foam-core may be more cost-effective.
What is the most common reason giant plush looks different between sample and bulk?
The top cause is missing a locked Approved Reference Sample pack that includes centerlines, tolerances, structure route, and pack-out rules—so bulk is made from “interpretation” instead of a measurable standard.
In a giant plush, small deviations become obvious: eye distance, mouth angle, logo height, and head tilt. If these are not written into a reference pack, different operators may interpret the same design slightly differently. Another major cause is material substitution: similar-looking plush grades can behave differently under lighting and compression, changing silhouette. Finally, pack-out changes can deform bulk even if production is correct.
To prevent bulk drift, procurement should lock: (1) key measurements and tolerances, (2) face/logo centerlines, (3) structure and internal support plan, (4) pack-out carton size, density limits, and orientation labels. Reorders become stable when the same pack is reused.
Can you add lighting, electronics, or moving parts inside the plush?
We can support certain integrated elements, but giant display plush works best when “special functions” are treated as a separate module with clear safety and maintenance access, not buried permanently in the body.
Integrated electronics increase risk: heat, wiring stress, access for repairs, and safety in public environments. Procurement should define whether the display is static or interactive, and whether electronics must be removable. In many cases, a safer approach is to create a dedicated internal pocket/module with secure fastening and an access opening hidden by design (e.g., zipper under base cover).
If your venue requires compliance documents, define them early. Also, shipping plan: electronics must be protected from compression and impact. A pilot build is strongly recommended before a large-scale rollout.
What is the best MOQ strategy for a giant display plush program?
The best MOQ strategy is a risk-reduction pilot: one reference SKU, stock materials, locked structure + pack-out, then scale to bulk after real display and shipping feedback.
Giant plush projects have higher unit costs and higher failure impact, so a small pilot is not “wasting money”. Procurement should select a reference SKU that represents the toughest requirements (pose stability, branding visibility, transport route). Use stock materials where possible to reduce MOQ pressure and lead time.
After pilot approval, lock the reference sample pack and scale with stable specs. This improves repeatability and often improves pricing due to reduced revisions and operational learning.
How do we prevent the plush from looking “cheap” in photos?
Photo quality is driven by face symmetry, centerline alignment, controlled plush pile direction, and choosing a logo method (often embroidery) that stays crisp under lighting.
For a giant plush, the camera “sees” asymmetry immediately. Procurement should lock face centerline, eye distance, mouth angle, and logo height relative to body landmarks. Also, define the hero viewing angle and pile direction to avoid shading inconsistencies.
Avoid placing logos on curved compressible areas. If printing is required, lock color standards (Pantone + physical swatch) and define abrasion expectations. A reference photo set under similar lighting is a practical approval tool.
What should third-party inspection focus on for giant display plush?
Inspectors should prioritize posture stability, reference sample match, and pack-out compliance, not just seam cleanliness.
AQL-style checks often miss giant-specific risks: base geometry, centerline alignment, and packing density. Provide inspectors with your reference sample pack and a checklist: posture test (stand/sit), face symmetry, logo placement, key measurements, and carton density/orientation rules.
For modular builds, inspect part counts and labeling. This prevents missing parts and onsite delays.
Can you design the plush so it’s easier to store between campaigns?
Yes—storage readiness improves with modular design, dedicated storage bags, part numbering, and defined folding/packing rules that prevent permanent creases.
A one-piece giant plush is hard to store safely. Modular builds let you pack skins flat and store frames efficiently. If a one-piece design is required, create a storage plan: dust covers, low-compression cartons, and “do not stack” labels. Procurement should lock a storage method at the same time as shipping pack-out to protect reuse value.
How do you handle color consistency for large plush under retail lighting?
Use a physical color standard (swatch), lock plush grade, and define pile direction and approval lighting—because retail lighting exaggerates color shifts.
Screen approvals are risky. A signed swatch and a reference photo under similar lighting reduce disputes. Also, define whether the hero side must match strictly and allow slightly wider tolerance on non-hero panels for supply stability.
What is the best structure for a giant display plush: Soft-only, Foam Core, or Internal Frame + Removable Skin?
The “best” structure is the one that matches your pose stability requirement, reuse cycles, and shipping volume limits—in most procurement cases, Foam Core fits single-location retail displays, while Internal Frame + Removable Skin fits standing mascots and touring programs.
When you choose the wrong structure, the real cost shows up later as leaning, neck collapse, and shipping deformation. Use this decision logic:
| Program Need | Recommended Route | Why it works |
|---|---|---|
| Single-store display (weeks) | Foam Core / Hybrid Core | crisp silhouette + simpler setup |
| Touring events / multi-venue | Internal Frame + Skin | modular packing + posture lock |
| Seated/supported props | Soft-only (reinforced) | lowest cost + acceptable stability |
| High photo demand | Foam Core or Frame | cleaner outline under lighting |
Procurement should send three inputs first: height, pose (standing/sitting/leaning), and use case (retail/event/photo). Then we propose 2–3 feasible builds with trade-offs: cost, shipping, assembly, and maintenance.
If your plush must stand “hands-free,” plan a posture test and lock a base footprint in the Approved Reference Sample. That single step prevents most long-term display failures.
How do you prevent shipping deformation and “arrived tired” giant plush?
Preventing deformation requires a locked pack-out specification—including a carton density limit, face/head protection inserts, and clear orientation + no-overstack marks—not just “better cartons.”
Giant plush deforms because the supply chain compresses it repeatedly: packing, pallet stacking, container pressure, and last-mile handling. The fix is to engineer packing as part of the product:
Pack-out controls we recommend require
- Carton density limit: “Do not exceed” units-per-carton and compression allowance.
- Face/head protection: inserts that prevent pressure on embroidered features and 3D nose areas.
- Orientation rule: define which side is up and how cartons must be stacked.
- Carton marks + pack list: PO/SKU, qty, carton no., dimensions, and (for modular) part list.
| Risk | Control | Result |
|---|---|---|
| Crushed face | face insert + orientation | photo-ready arrival |
| Body creases | density limit + carton size | stable silhouette |
| Foam compression | no-overstack | core shape protected |
| Receiving errors | carton marks + pack list | fewer claims |
If you want a practical starting point, ask for an anti-deformation packing plan by size during RFQ. That usually reduces returns more than any small material upgrade.
What causes “sample approved, bulk wrong” and how do we stop bulk drift?
Bulk drift happens when the project lacks a measurable Approved Reference Sample pack with centerlines, tolerances, structure route, and pack-out rules—so production and packing become interpretation-based.
In giant plush, tiny shifts become huge: logo height, eye distance, mouth tilt, head angle. If these are not defined with centerlines and tolerances, the bulk line will “average” decisions differently than the sample room. Another hidden drift driver is packing: if bulk is packed tighter than the sample shipment, the product arrives deformed even when production is correct.
What a Reference Sample Pack should include
- Key measurements + tolerances (height, width, head size, base footprint)
- Face & logo centerlines (placement reference points)
- Material system (outer plush grade, lining/containment, stuffing zones)
- Structure route (foam core vs frame)
- Pack-out spec (carton size, density limit, inserts, carton marks)
| Drift Source | Lock Method | Proof |
|---|---|---|
| Placement drift | centerlines + tolerance | measurement photos |
| Shape drift | structure + stuffing map | silhouette check |
| Shipping drift | pack-out spec | carton photos |
Ask suppliers to provide a “reference lock pack” before mass production. That reduces disputes and speeds reorders.
How do you define posture stability for a giant plush that must stand in stores?
Stability should be specified as a posture test + base footprint requirement in the Approved Reference Sample, not as a vague promise like “it will stand.”
Procurement should define where the plush stands: smooth floor, carpet, or platform. A plush can stand on the factory floor and fail on a retail carpet if the base footprint is too small or the center of gravity is not controlled. We recommend locking:
- Base footprint geometry (contact width/depth)
- Pose lock method (foam core vs frame)
- Stability tolerance (acceptable lean angle / wobble)
- Lift points (how staff carry it without deforming posture)
| Display Condition | Spec to Lock | Why |
|---|---|---|
| Carpet retail | wider base | prevents tilt |
| High-touch photo zone | pose lock | resists movement |
| Multi-week display | neck/waist supports | prevents collapse |
If your program requires “no support,” the safest route is foam core or internal frame plus a defined posture test. This reduces store-level failures and emergency fixes.
Start Your Custom Plush Project Today
If You Can imagine it,We Will Create it!
Whether you are a brand, creator, retailer, or agency, our Guangdong plush factory is ready to support your OEM/ODM development. Send us your design, concept, or reference image — our team will reply with a free development proposal and quotation.
1. Tell Us What You Need
Tell us your requirements and share your artwork or reference images.
2.Get a Solution & Quote
We’ll suggest the best solution based on your requirements, and provide a detailed quote within 12 hours.
3.Approve for Mass Production
We will start mass production after getting your approval.
For all inquiries, please feel free to reach out at
- info@heyzizi.com
- (+86)13717153084
Ready to Grow Your Plush Product Line?
Brands and businesses from over 80 countries have chosen Jundong as their trusted plush manufacturing partner. Now it’s your turn. Work with us for reliable custom plush production, clear sampling support, and stable delivery for long-term programs.