 Skip to content
Custom Plush Coin Purses
A custom plush coin purse sells when it feels like real merch, not a thin novelty. The biggest conversion drivers are zipper reliability, logo readability on plush pile, and shape stability after shipping. Heyzizi based in Guangdong builds coin purse programs with a locked material system (BOM), clear logo method guidance (often patch for small text), reinforced zipper ends and keychain anchors, plus anti-deformation pack-out with scan-friendly barcode carriers and warehouse-ready carton marks. Share your size, channel, logo file, and SKUs to start.
Plush Coin Purses: Zippers, Logos, Consistency
A plush coin purse is small, but it is judged like a branded product. Customers don’t complain about “size.” They complain about zipper jamming, dirty edges, logo blur on plush pile, and “sample looks great, bulk looks different.” If you’re building merch for retail, events, IP characters, museums, hotels, or subscription boxes, the coin purse must be repeatable and giftable—because it’s often the first physical item a customer touches. Based in Guangdong, Heyzizi supports overseas B2B buyers with a bulk-ready development route, not “one-off samples.”.
A custom plush coin purse is a hybrid product: it behaves like plush (soft hand-feel, pile direction, expression consistency) but fails like a small bag (zipper issues, lining tearing, hardware pull-out, messy edge binding). That’s why you should source it with a “soft-goods and plush” mindset.
Who this page is for (real customer scenarios):
- Brand merch teams launching seasonal drops (giftable, photo-friendly, stable reorders).
- IP owners building character pouches (expression control, embroidery or patch clarity, size repeatability).
- Retailers who need scanning-friendly labeling (barcodes on flat carriers, carton marks).
- Promotion and event buyers (fast lead times, clean logo execution, low complaint risk).
- Hospitality or museum or theme park gift shops (durability and replenishment stability).

What “high conversion” means for this product (not empty marketing):
- The zipper works smoothly after real use.
- The plush stays clean at edges (no fraying, no exposed seam allowances).
- The logo stays readable on plush texture.
- The pouch keeps its shape in shipping (no collapsed corners, no twisted zipper curve).
- Reorders match the first approved standard.
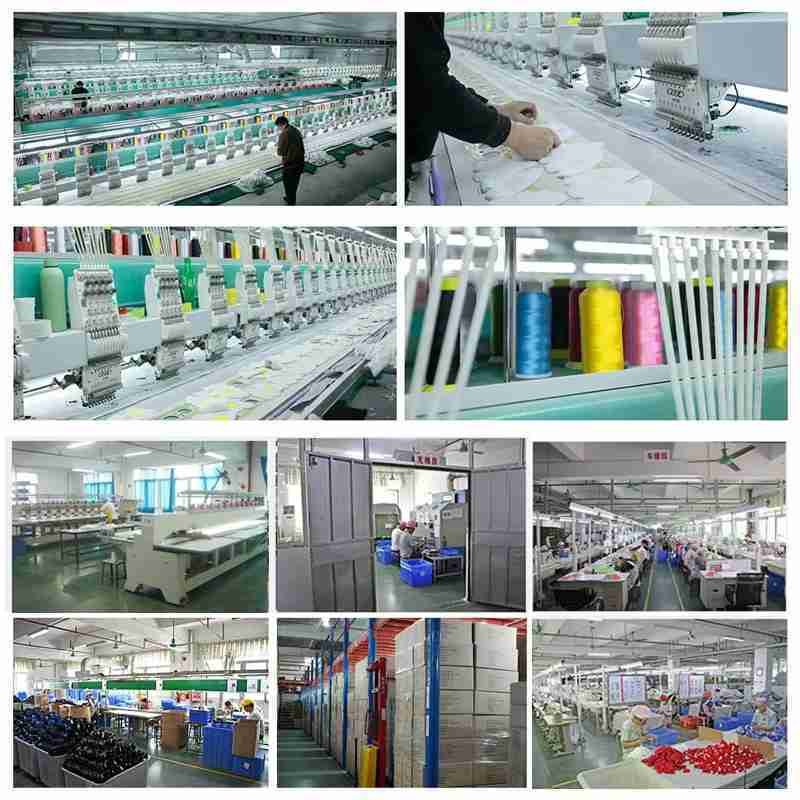
We build plush coin purse programs using the same logic we apply to plush projects: define a repeatable spec, then lock it through process checkpoints. Our model is designed for bulk consistency, not just “make one nice sample.” Our quality work is focused on getting bulk closer to the sample standard through controlled checks across incoming materials, in-process work, finished goods, and packing.
Plush Coin Purses: Pouch, Keychain, Character
To choose the correct plush coin purse format, start with the use moment. Is it a quick impulse buy at a gift shop? A branded promo item? A daily-use pouch for coins and earbuds? Each moment changes what you should prioritize.
1.Core formats (with practical pros & risks)
(1) Flat zipper pouch (no gusset)
Pros: cost-friendly, fast to produce, good for simple logos
Risks: looks “thin,” corners collapse, zipper curve can twist
(2) Gusseted coin purse (side or bottom gusset)
Pros: better capacity, better shelf presence, more premium feel
Risks: pattern must be stable; seam allowances and zipper curve need control
(3) Keychain coin purse or bag charm pouch
Pros: strong merch conversion, easy add-on product
Risks: hardware pull-out if anchor reinforcement is weak; scratch risk during shipping
(4) Character face coin purse (3D nose,ears,embroidered eyes)
Pros: highest emotional value, best for IP or mascot programs
Risks: expression drift, plush pile swallowing fine details, more sewing steps
(5) Functional inner layout (card slot, earbud cradle, inner pocket)
Pros: higher perceived value, fewer “it’s just a pouch” complaints
Risks: more parts means more QC points; needs clean internal finishing


2. Customer-friendly selection table
| Your channel | Best format | Why it sells | What to lock |
|---|---|---|---|
| Gift shop retail | gusseted or character | shelf presence | shape and zipper curve |
| Corporate promo | flat or gusseted | budget control | logo readability |
| IP character drop | character face | emotional value | expression checkpoints |
| Online or e-commerce | structured pouch | fewer returns | packing anti-deformation |
| Bag charm trend | keychain pouch | add-on conversion | ring anchor reinforcement |
3. What we recommend before sampling
- Choose 1 “reference SKU” first, then add variants (color,hardware,size).
- Confirm zipper type and puller style early (this drives durability).
- Decide logo strategy for plush pile: often patch for fine text, bold icons can be embroidery.


Materials Spec: Plush, Lining, Zipper, Hardware
A plush coin purse should be specified as a system, not a fabric. Customers who only specify “soft plush” often end up with unstable bulk performance. Here’s the structure we recommend locking in your RFQ and sampling stage:
(1) Outer plush
Key controls: pile height, pile density, pile direction, and color stability. High pile can hide seams but may blur small details. Lower pile can improve logo clarity. For character designs, pile direction affects “expression.”
(2) Lining
Coin purses face abrasion from coins, keys, earbuds cases. A lining that is too thin tears at corners and zipper ends. Buyers should choose lining based on use case:
- coin-heavy use → stronger, smoother lining
- gift or promo use → still needs stability, but can optimize cost
(3) Interfacing or structure layer
This is what prevents collapse. A light structure layer can improve shelf feel without making the purse “hard.” It also stabilizes zipper curves and logo placement.
(4) Zipper system
Zippers fail because the tape twists, the ends are not reinforced, or the curve is too tight. For plush coin purses, we recommend locking:
- zipper type (nylon or metal look), chain size fit
- puller style (standard vs custom)
- zipper-end reinforcement rule
- functional check under mild load (not only empty)
(5) Hardware & anchor
Key ring anchor points must be reinforced with webbing or tape and stitched into the structure layer, not only into plush. That’s how you prevent pull-out.


Plush Coin Purse Pattern: Prevent Failures
Pattern and construction are where “cute” becomes durable. For plush coin purses, we focus on load paths and stress zones—the same logic used in small bags, adapted to plush surfaces.
(1) Zipper curve control
A zipper jams when the tape twists or tension concentrates at the ends. For curved pouches, we recommend:
- keep zipper tape flat with controlled seam allowance
- avoid overly tight curve radius
- add zipper-end reinforcement (stitch lock and tape)
- test zipper function with real contents (coins) not only empty
(2) Gusset geometry
Gussets improve premium feel, but they require stable seam allowances. We recommend defining:
- gusset width tolerance
- corner folding route
- seam finishing method (reduce fray and bulk)
(3) Turning and edge finishing
Plush hides some sewing issues, but edges still show if they’re not clean. Lock:
- turning opening location (not at stress points)
- edge topstitch rules (if used)
- internal seam binding rules for premium versions
(4) Hardware anchor reinforcement
Anchor must be stitched into a reinforcement layer, not only plush. The goal is to spread load into the structure. Buyers should request an anchor close-up in sample review.
(5) Bulk repeatability tools
- a simple “stitch route map” for operators
- a measurement sheet for key points: zipper length, gusset width, logo distance from seams, anchor placement


Plush Purse Logos: Placement & Readability Tests
A custom plush coin purse lives or dies on two impressions: “it feels cute” and “it feels like real merch.” The second impression depends heavily on the logo. Instead of guessing, choose a logo method based on logo content (small text vs bold icon), plush pile, and where the logo sits (flat panel vs curved edge).
(1) Choose the method that matches your logo reality
Embroidery
Best for: bold icons, simple lettering, medium or low pile plush.
Common failures: fine text becomes unreadable on higher pile; stitches sink into pile; edges look soft.
How to improve: use a lower pile logo zone, increase contrast, and avoid tiny strokes.
Patch (woven or embroidered patch)
Best for: small text, sharp edges, premium “brand badge” feel.
Common failures: patch corners lift if not stitched correctly; patch size too small for scanning.
How to improve: define patch edge stitch rules, keep patch size practical.
Print, heat transfer, sublimation (depends on fabric)
Best for: full-color art, gradients, detailed illustrations.
Common failures: ink cracking on curved stress zones; color shift; rub marks after use.
How to improve: place print on stable panels; do a simple rub and bend check.
(2) Placement rules that stop bulk arguments
Plush surfaces fool the eye. “Center it” is not a spec. The stable approach is to measure from seams:
- Logo center aligned to a defined seam line
- Distance from bottom seam or side seam in mm or cm
- Tolerance range (example: ±3mm) for bulk acceptance
(3) “Readability test” customers can request
You don’t need complicated lab testing to catch logo risk early. Ask for:
- A close-up photo under normal lighting
- A 1-meter viewing photo (how shoppers see it)
- A quick “pile brushed” photo (pile direction changes perception)
- For prints: a simple rub and bend check photo or video
(4) Logo and pouch architecture pairing
Logo method should match the product shape:
- Curved edge areas → patch is often cleaner than fine embroidery
- Flat front panels → embroidery or print works well
- High pile plush → patch keeps text readable


Plush Purse Zippers: Flatness, Reinforcement, Hardware
Zippers and hardware decide whether a coin purse feels like a giftable product or a low-end novelty. For plush coin purses, we recommend specifying the zipper as a system: zipper type and tape behavior and end finishing and lining interaction.
(1) Zipper selection: match use, not just appearance
Nylon coil zipper is common for plush because it’s flexible and smoother on curves.
Metal-look zippers can be used, but on small curved pouches, rigidity can increase jamming risk.
What to lock in your RFQ:
- Zipper type and chain size (too small can feel weak; too large can look bulky)
- Tape width and tape stiffness (affects flatness)
- Puller style: standard vs custom puller for branding
(2) Tape flatness and curve control
Zippers jam on curved pouches when the tape twists. Bulk operators may sew slightly differently; that’s why rules matter:
- define seam allowance around the zipper
- avoid overly tight curve radii
- require a flatness check before final closing
(3) Zipper-end reinforcement
Most zipper failures happen at the end stops because tension accumulates there. A basic reinforcement rule is simple but powerful:
- add stitch locking at ends
- reinforce ends with tape or extra stitching layers
- check lining clearance so it won’t get caught
(4) Lining interaction: prevent “zipper eats the lining”
A zipper that catches lining causes immediate returns. Prevention is practical:
- keep lining seam away from zipper teeth path
- stabilize lining near zipper ends
- run a real-use zipper test with items inside (coins, keys)
(5) Hardware for keychain versions: anchors and plating reality
If you sell as a keychain coin purse, the ring anchor must be treated as a load-bearing point. Buyers should confirm:
- hardware type (key ring, lobster clasp, ball chain)
- plating expectation (scratch visibility)
- anchor reinforcement route: stitched into reinforcement layer, not only plush


Plush Purse Sampling: Prototype to PP Approval
The goal of sampling is simple: remove uncertainty before bulk. For plush coin purses, we recommend a sampling route that matches the real risk points.
Step 1: RFQ clarity (so the first sample is not wasted)
Before any sample, lock these basics:
- size (W×H×Gusset), pouch shape (flat, gusseted, character)
- zipper direction (top, side, curved), puller preference
- lining expectation (smooth, durable), any inner pockets
- logo file and preferred method (or ask for recommendation)
- whether you need keychain hardware and anchor strength focus
- packaging expectation (bag vs box; retail tags needed or not)
Step 2: Prototype sample (structure first)
At this stage, focus on architecture: zipper curve behavior, pocket capacity, shape stability, and inside finishing. Don’t over-invest in final packaging yet if the structure is not stable.
Step 3: Revision sample(s) (fix drift points)
Typical revision topics: zipper tape flatness, gusset tolerance, lining clearance, logo size, anchor reinforcement, and edge cleanliness.
Step 4: Technique confirmation (logo and hardware)
This step prevents late-stage surprises. Confirm the real logo result on the chosen plush. For keychain models, confirm anchor build and hardware finish.
Step 5: Packaging validation (prevents crushed arrivals)
Packaging is part of the product experience. Validate:
- anti-deformation pack-out
- barcode carrier placement
- scratch prevention for metal parts
- carton marks if multi-SKU
Step 6: Pre-production approval (bulk realism)
Before mass production, approve a sample made with bulk materials and real packing logic. This is where you catch “bulk-only” issues early.


Plush Purse QC: Incoming, Process, Final
Quality control for plush coin purses should track the real failure modes. We recommend organizing checks into three stages plus packing verification.
(1) Incoming checks
- Outer plush: pile direction consistency, visible stains, hand-feel consistency
- Lining: tear resistance expectation, smoothness, color consistency
- Zippers: tape flatness, puller feel, chain smoothness
- Hardware: plating appearance, scratch risk, ring or clasp fit
- Labels or tags: correct version, barcode scan check (on flat carrier)
(2) In-process controls
- Zipper sewing: tape flatness maintained, seam allowance stable
- Zipper ends: reinforcement executed correctly (photo spot-check helps)
- Lining clearance: no “catch points” near teeth path
- Anchor reinforcement: stitched into reinforcement layer, not only plush
- Logo placement: measured from seams, not by eye
(3) Final inspection
- Zipper functional check: cycle test with contents (coins or keys)
- Shape check: corners not collapsed, gusset symmetry acceptable
- Clean finishing: no exposed seam allowance, no loose threads at edges
- Logo readability: close-up and normal-view acceptance
- Hardware durability: anchor stress check for keychain models
(4) Packing verification
Packing is not “afterthought.” It protects product experience and warehouse efficiency:
- anti-deformation pack-out confirmed
- scratch prevention for metal parts
- barcode labels placed on flat carriers
- carton marks match SKU list and carton counts
Plush Purse Packaging: Shape, Scratch, Barcodes
Many suppliers say “we do QC,” but customers still face the same problems: seams open after a few days, squeakers expose through thin fabric, stuffing leaks at needle holes, or bulk units drift from the approved sample. The issue is not whether QC exists—it’s whether QC is designed around pet plush failure modes. Pet toys fail under chew, tug, shake, and repeated impact. That means inspection must target stress points and internal component security, not only color and stitching neatness. At Heyzizi, we build QC around predictable risks: seam opening, part detachment, stuffing migration, component shifting, shape deformation, and appearance drift vs the reference sample.

QC checkpoints by failure mode
Seam opening risk
Inspect seam routes at the mouth edge, limb roots, and tug points
Verify double seams and reinforcement tape placement
Perform pull-checks at defined points and record pass or fail
Component exposure risk (squeaker, crinkle insert)
Confirm the component sits inside a fixed internal pocket
Check pocket stitch-barrier integrity
Verify there are no sharp edges or weak spots around the component zone
Stuffing migration or leakage
Check for needle-hole leakage under light tension
Confirm an inner containment layer when specified
Verify fill distribution with no thin-fill zones that collapse early
Part detachment (labels, trims)
Verify stitch security for labels, hangtag anchors, and decorative trims
For pet lines, prefer embroidered faces and verify embroidery density and backing
Appearance drift versus reference sample
Use one approved reference sample as the only baseline
Check key dimensions, face placement, and silhouette consistency
Packaging and Cartons: Prevent Deformation, Ease Receiving
Pet plush looks soft, but it can be damaged in transit: flattened faces, distorted seams, creased fabric, and crushed accessory zones. When bulk shipments arrive deformed, brands lose time repacking, customers leave poor reviews, and warehouses file claims. Packaging is not an afterthought—it is a continuation of manufacturing control. The right carton size, internal packing method, and clear carton marks prevent deformation and reduce receiving confusion.
Deformation prevention rules:
Select carton size to avoid over-compression and keep controlled headspace.
Use shape-protection for face and feature zones, especially embroidered faces.
Standardize unit packing with defined polybag orientation and stacking direction.
For mixed orders, separate SKUs by carton when possible; if cartons are mixed, use clear carton identification labels.
Pack-out options:
Individual polybag: reduces scuffing and supports barcode placement.
Inner dividers or partial supports: protects premium shapes and reduces flattening.
Carton density control: set pieces per carton by size and volume, not “maximum fit.”
Moisture control when needed: desiccants or sealed bags depending on route and season.
Carton marks checklist:
SKU or Style, PO Number, Quantity, Carton Number, Gross and Net Weight, Dimensions, Country of Origin, and required handling marks.


Pet Plush Compliance: Build, Docs, Multi-Market
Compliance is not a single certificate—it is a planning process that starts with product design. For pet plush, brands often need to consider material safety, labeling rules, and market-specific requirements. Even when a brand manages testing through its lab partners, the factory must support compliance with the right build choices and documentation: material traceability, component declarations, and stable production that matches the tested sample. The biggest compliance risk is not “failing a test once”—it’s passing a test and then drifting in bulk production.
Factory-side compliance supports:
- Material consistency control: lock the material set (outer fabric, lining, stuffing, trims) used in the tested sample.
- Component declarations: squeaker, crinkle film, ropes, labels—record type and supplier batch when possible.
- Labeling coordination: barcode placement, warning text area, country-of-origin, and other channel requirements.
- Production alignment: ensure bulk follows the same seam routes, stitch density zones, and pocket designs as the tested reference.
compliance planning checklist:
- Define target markets and channels (Amazon, DTC, retail)
- Decide on a “no hard parts” design if your pet segment requires it
- Confirm cleaning or wash instruction approach (affects inks and fabrics)
- Lock reference sample and spec sheet before testing
- Run bulk with QC checkpoints tied to the tested sample
Pet Plush RFQ Template for Fast Quote
If you want faster quotes and fewer back-and-forth messages, your RFQ must answer the questions that drive materials, labor, and risk control. For custom pet plush, “cute design” is not enough; we need to understand pet size range, play style, internal components, and packaging channel.
Copy and Send RFQ Template
1) Product Type
Type: squeaker, crinkle, rope hybrid, cat kicker, set, or other
Target pet: dog or cat; size range: small, medium, or large
Play style: chew, tug, chase, or kick
Target dimensions (L × W × H) and target weight, or a competitor SKU link
2) Design and Branding
Artwork files (AI, PDF, PNG) with front and back views
Logo method: embroidery, print, or woven label
Color reference (Pantone code or physical swatch, plus photos if available)
Label needs: inner label, hangtag, barcode position
3) Build Expectations
Durability level: giftable, standard play, or higher durability
Hard parts policy: no hard parts preferred (yes or no)
Internal components: squeaker type, crinkle insert, rope diameter
Cleaning requirement: spot clean or machine wash
4) Packaging and Shipping
Unit pack: polybag, header card, or gift box
Bundle format: single unit or multipack (quantity per set)
Carton packing: single SKU per carton, or mixed cartons allowed
Carton mark requirements (if any)
5) Order Plan
Target quantity (pilot and bulk)
Target delivery window
Destination country and port (for packing and labeling suggestions)
Send the completed RFQ and artwork to info@heyzizi.com for a build proposal and sampling route.


Pet Plush Cost Drivers: Cut Returns, Then Cost
In pet products, “cheap” becomes expensive fast when a toy fails in the customer’s hands. For brands, the highest cost is often not the factory unit price—it’s returns, negative reviews, and reorder hesitation. So we approach cost with a value-engineering mindset: lock the build elements that protect durability and safety, then optimize materials and processes that don’t affect performance. This guide breaks down what actually drives cost in custom pet plush: fabric and trim system, internal components, labor steps added by reinforcement, packaging complexity, and quality requirements. It also shows practical ways to reduce cost without increasing failure risk—so your first order launches with confidence and your bulk runs stay stable.
Material system
Outer plush grade, lining or containment layer, rope or webbing, trims
Custom dye or printing increases minimums and unit cost
Internal components
Squeaker type or size, crinkle insert layers, internal pockets
Better retention designs add labor but reduce claims
Labor and reinforcement
Double seams, reinforcement tape, zone-based stitch density
More steps increase cost, but can reduce return rate significantly
Design complexity
Multiple color blocks, multiple embroidery areas, complex shapes
Higher risk of bulk drift unless the spec is locked
Packaging execution
Retail packs, header cards, gift boxes, multipack bundles
Packing labor and packaging materials add up
Value engineering: reduce cost without increasing risk:
- Keep reinforcement map unchanged, optimize non-stress panels (fabric grade options)
- Use embroidery face consistently (reduces hard parts and simplifies sourcing)
- Standardize component sizes across SKUs (same squeaker type; fewer supply variables)
- Choose stock fabric colors for pilot order, move to custom dye after validation
- Simplify packaging for pilot, upgrade packaging for bulk after performance is proven
“Cost vs Risk” table:
| Optimization | Saves Cost | Risk Impact | Recommendation |
|---|---|---|---|
| Lower plush grade everywhere | yes | high | avoid |
| Keep reinforcement, adjust non-stress fabric | moderate | low | good |
| Standardize squeaker type | moderate | low | good |
| Reduce packaging complexity for pilot | yes | low | good |
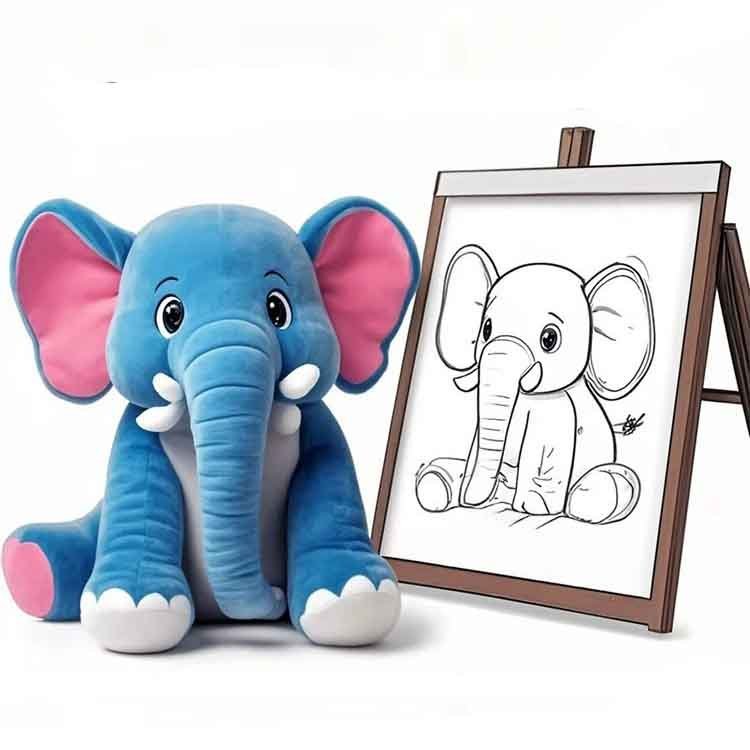
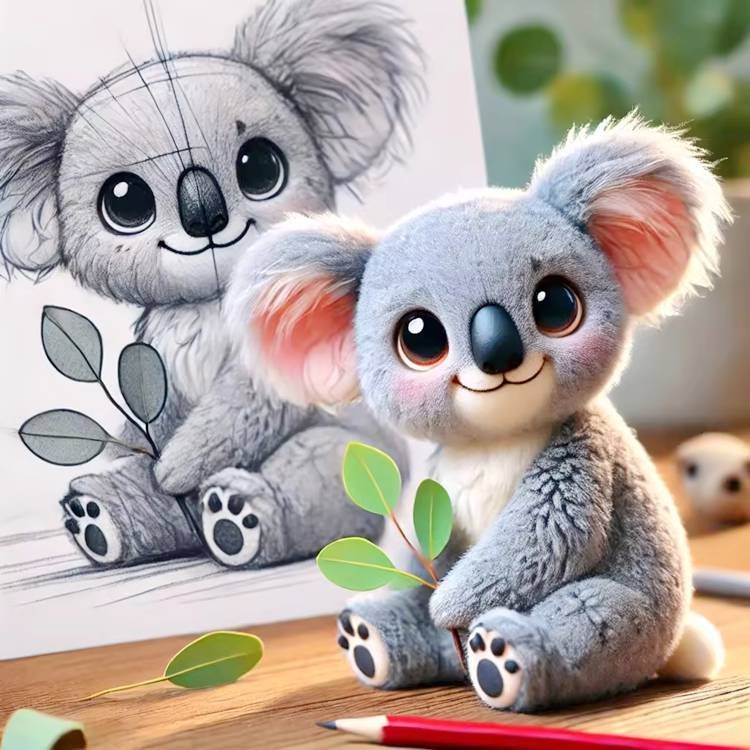
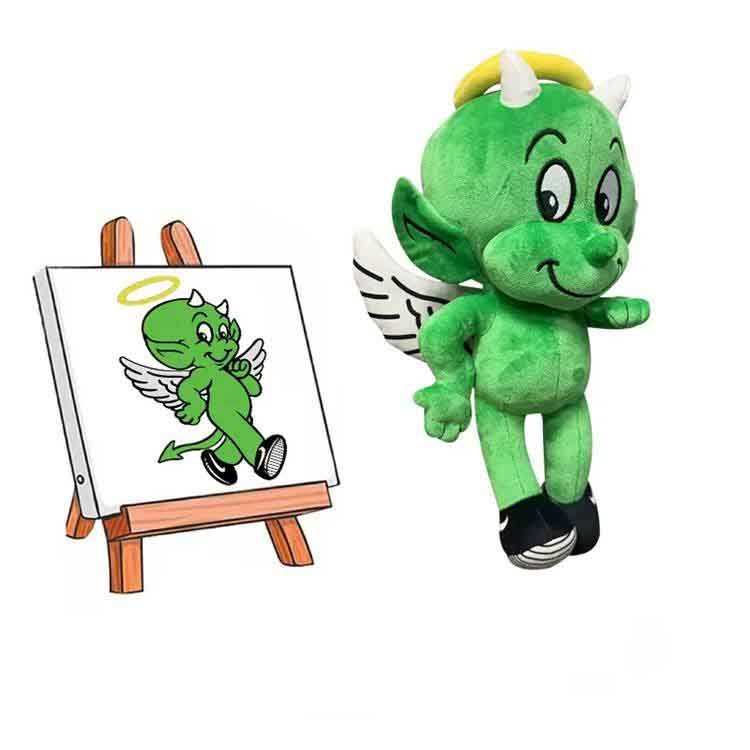
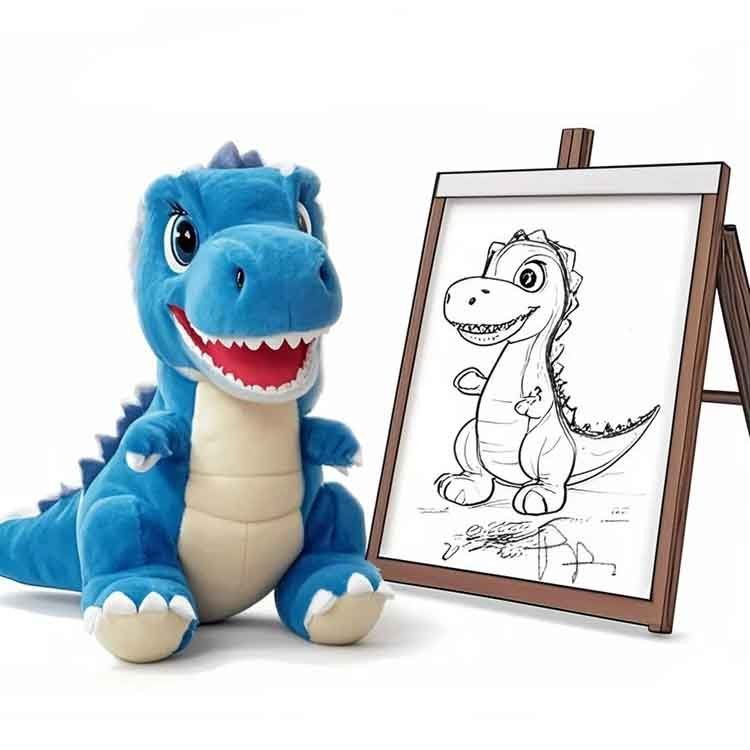
Request a Custom Sample First?
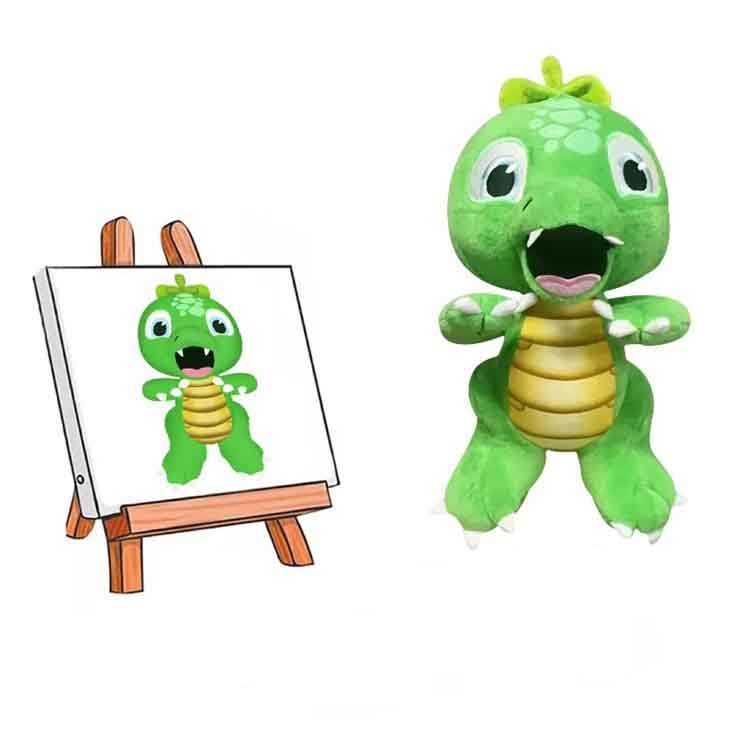
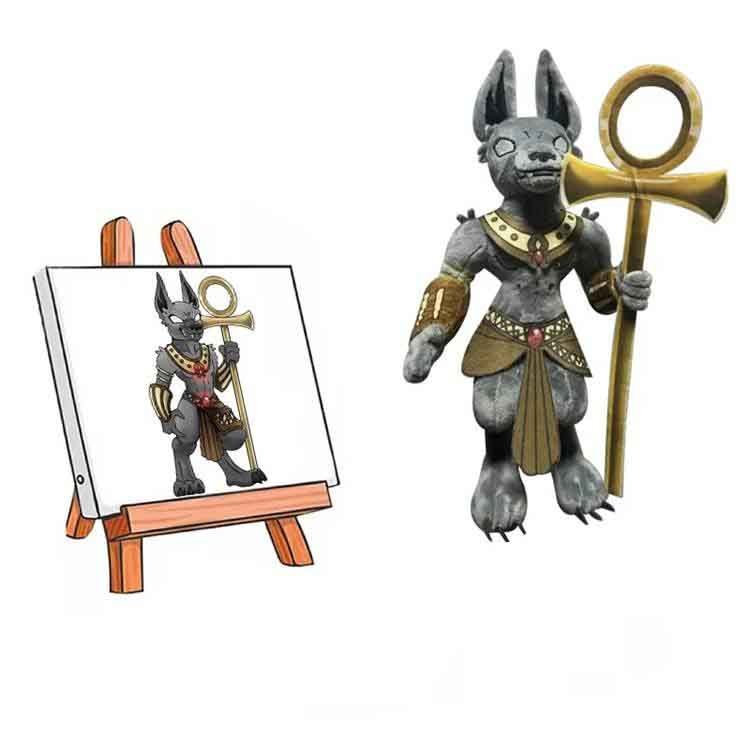
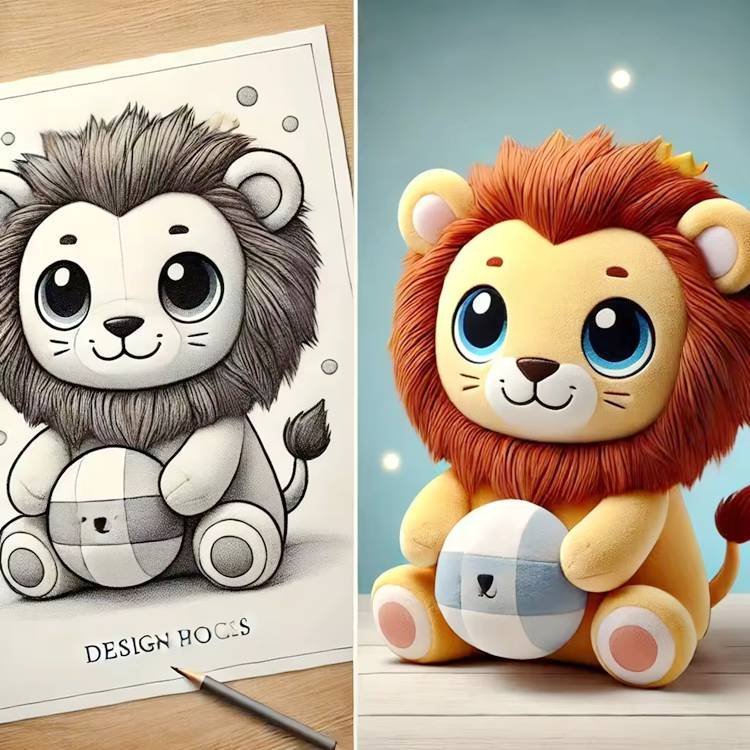
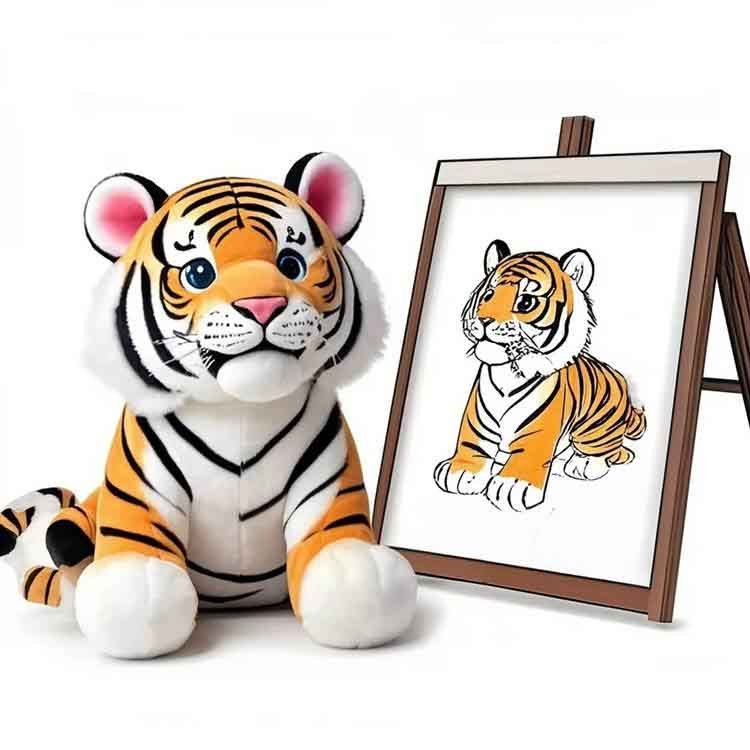
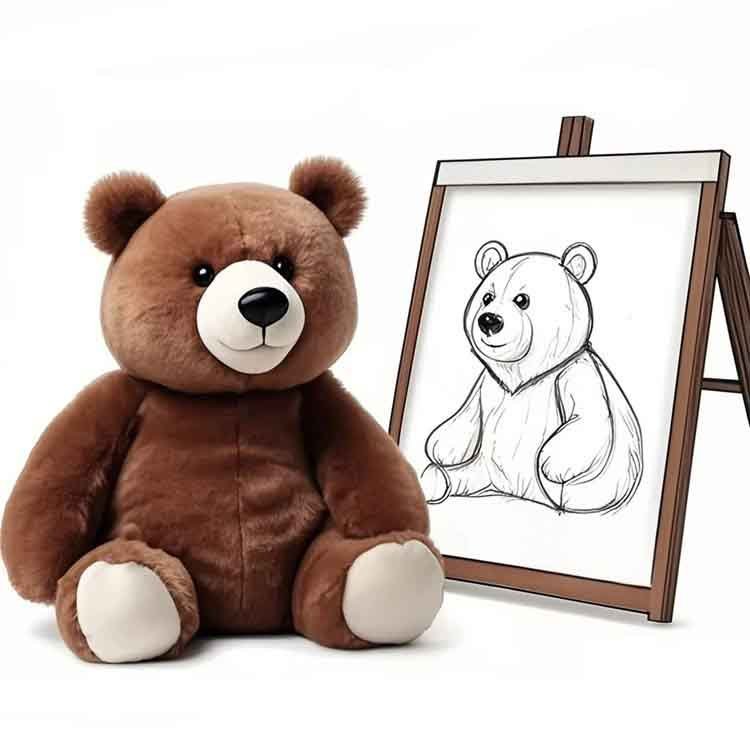
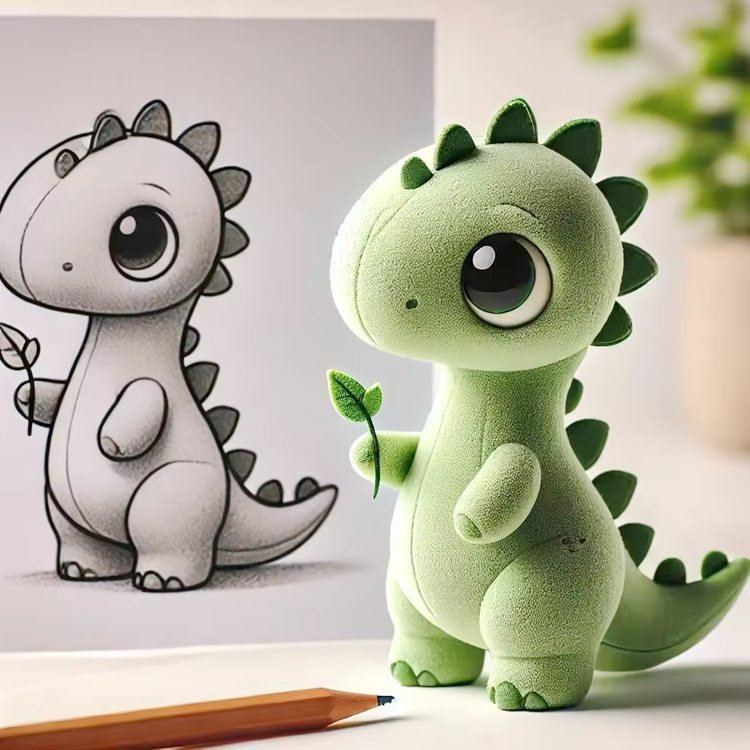
If you have artwork, logo files, or even just an idea, please share your project details—size, target fabric, color reference, and customization requirements. We’ll recommend suitable materials and provide a clear sampling plan to bring your custom plush toy design to life.
What Makes Our Custom Plush Production Reliable for B2B
Trust is built through predictable execution—clear approvals, documented specs, quality checkpoints, and packing confirmation. We focus on making your plush project easier to manage and safer to scale.
For B2B customers, “reliable” plush production is not about making one nice sample—it’s about delivering repeatable bulk quality, stable lead times, and clear project control from artwork review to shipment. What makes our custom plush program dependable is the way we manage the details that most often cause problems in mass production: face accuracy, proportion stability, embroidery/printing consistency, stuffing weight and firmness control, and secure attachment for keychains, clothing, and accessories.
We build reliability through a structured workflow: we confirm a practical spec checklist before sampling, document revision notes, and lock the final approval sample as a golden standard for production. During manufacturing, we apply multi-stage QC checkpoints (not just a final check) to prevent drift early, especially in character-critical zones like the face and silhouette. Before shipment, we also verify packaging and labeling—including hangtags, barcode/SKU labels, care/warning labels, and carton marks—so your receiving and retail handling are smoother and your products arrive with less risk of deformation.
Process Proof
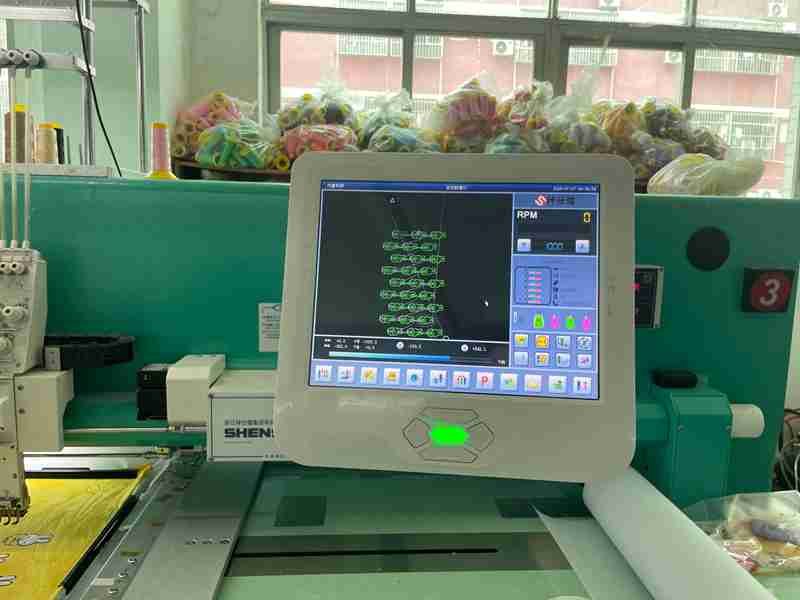
- Clear sampling-to-production approvals (prototype → revisions → final approval sample)
- Spec confirmation before bulk production (size, materials, logo placement, packaging)
- Revision notes that keep decisions traceable
- Golden standard concept for repeat orders
Quality Proof

- Multi-stage QC checkpoints across sewing, embroidery/printing, stuffing, finishing
- Needle control / needle detection option for finished plush (when required)
- Inspection focus on character-critical areas (face and silhouette) for IP plush
Delivery Proof
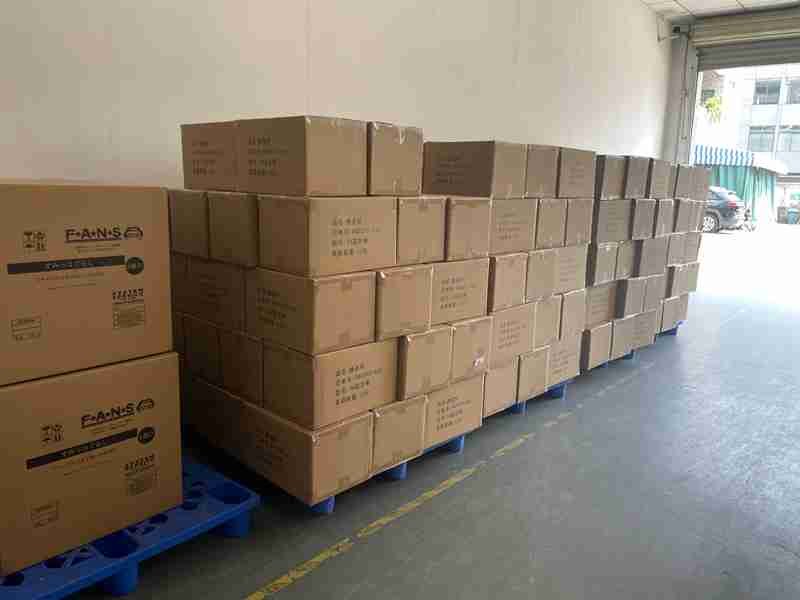
Packaging and labeling confirmation before shipment (photo proof + checklist)
Barcode and carton mark support (when required) (SKU/PO/qty/destination)
Packing suggestions to reduce deformation during transit (anti-crush, face protection)
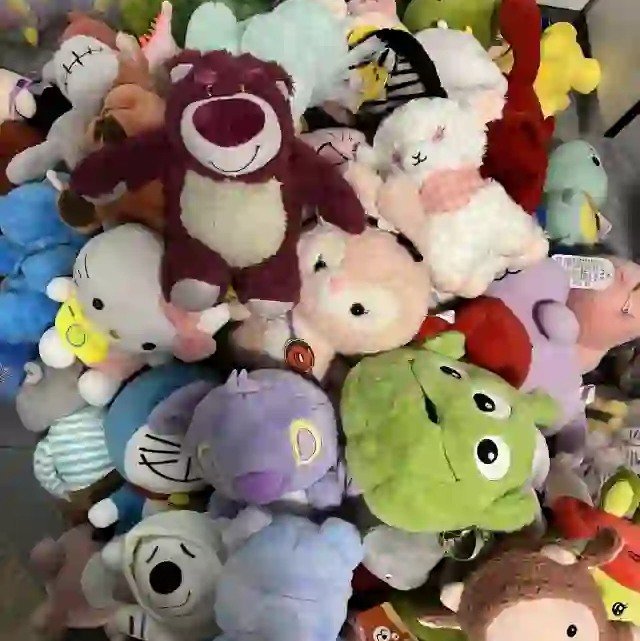
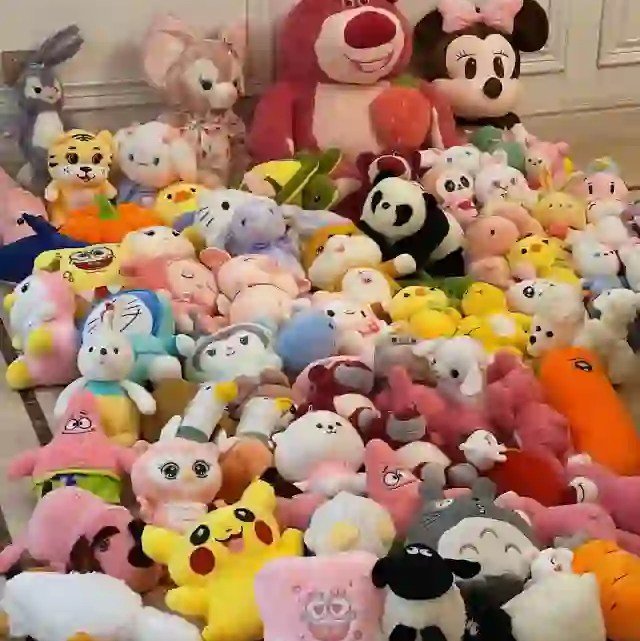
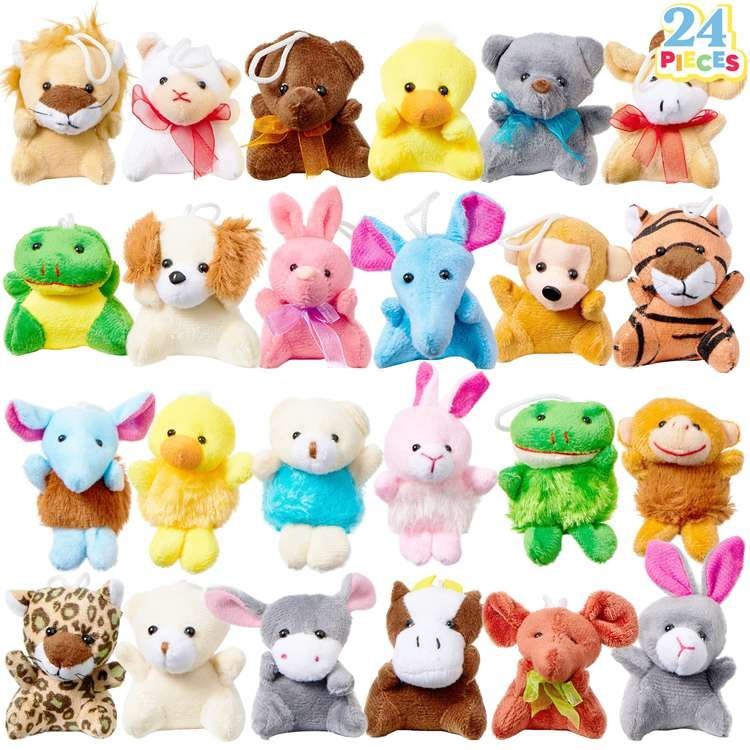
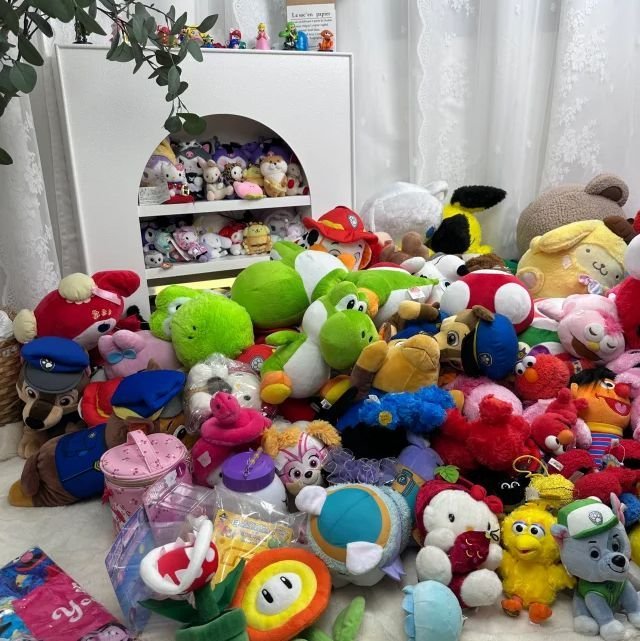
Frequently Asked Questions
How do you prevent “approved sample vs bulk drift”?
We prevent drift by locking one Approved Reference Sample plus a Spec Lock Pack (reinforcement map, seam routes, pocket placement, stitch density zones), then running bulk QC that compares every lot back to that reference.
Bulk drift usually comes from “small changes” that don’t look small in production: a different plush grade, a substituted squeaker, a seam route altered by an operator, or pocket placement drifting by a few centimeters. Our control starts before production. After you confirm the final sample, we freeze the material set (outer plush + lining/containment + stuffing + trims), define the reinforcement map (bite zones, limb roots, tug anchors), and document component retention (squeaker/crinkle pockets + stitch barriers). During bulk, we check the points that cause returns: seam opening risk, component exposure, stuffing migration, and shape/face placement vs reference.
To make this measurable for procurement, we recommend a “Spec Lock Pack” with photo annotations, tolerance notes, and pack-out rules. When the baseline is clear, reorders become faster because the same pack becomes your repeatable standard, not “tribal knowledge.” This is the practical difference between a factory that can make a nice sample and a factory that can deliver repeatable bulk consistency.
What drives MOQ and unit price for custom pet plush?
MOQ and price are driven by material uniqueness, build complexity, component sourcing, and packaging execution—so the best first step is choosing a baseline build that meets durability targets without unnecessary customization.
For pet plush, unit cost is not just fabric weight. The biggest drivers are (1) whether you use stock materials or custom-dyed/printed plush, (2) whether the build requires lining/containment, reinforcement tape, and fixed pockets, (3) the types and sizes of internal parts like squeakers, crinkle film, or rope anchors, and (4) retail packaging complexity (header cards, gift boxes, multi-packs). Procurement can lower MOQ and stabilize cost by standardizing components across SKUs and using stock colors for a pilot order.
A practical procurement approach is to separate decisions into “must-have for performance” vs “nice-to-have for branding.” Reinforcement maps, pocket retention, and stitch density zones typically belong in “must-have,” because they reduce returns. Brand colors and premium packaging can be phased in after the pilot proves durability.
Our standard MOQ is usually 500 pcs per design. For simple styles, 200–300 pcs can also be arranged for production. Since the quantity is smaller, raw material purchasing costs are higher, while the full production process still stays the same, so the unit price will be higher. In general, the larger the order quantity, the lower the unit cost. Once the order reaches 500 pcs or more, our pricing becomes much more competitive. We can stay flexible and work with different quantity needs based on your project.
| Choice | MOQ Impact | Price Impact | Recommendation |
|---|---|---|---|
| Stock plush colors | Low | Stable | Good for pilot |
| Custom dye/print | Higher | Higher | Use after validation |
| Fixed squeaker pocket | Neutral–Med | Med | Protects reviews |
| Gift box packaging | Higher | Higher | For premium drops |
What is the realistic sampling + lead time timeline?
A realistic timeline depends on artwork readiness, revision count, and whether durability specs are clear; the fastest path is a structured sample plan that locks the reference sample and pack-out rules early.
Sampling slows down when the first prototype is asked to solve everything at once—look, feel, durability, packaging, and compliance. For pet plush, it’s more efficient to validate in phases: (1) shape/face placement, (2) reinforcement map and retention pockets, (3) packaging and barcode layout. Bulk lead time then depends on material availability (stock vs custom dye/print) and packaging readiness.
Here’s a practical planning grid procurement teams can use:
| Stage | Typical Goal | What You Approve | What Prevents Delays |
|---|---|---|---|
| Prototype | Shape + artwork | silhouette + face | clear dimensions |
| Reinforced sample | Durability controls | seams + pockets | defined play style |
| Final reference | Bulk lock | spec + pack-out | fixed labels/barcodes |
| Bulk | Consistency | lot vs reference | QC checkpoints |
If you need a tight launch window, consider a risk-reduction pilot: one reference SKU, stock materials, simplified packaging, then scale with upgrades after field feedback. That approach often beats rushing a fully customized launch that later faces returns.
How do you define “durability level” for pet plush in a purchase order?
Define durability by pet size range, play style, and a locked reinforcement + retention spec, not by vague words like “tough” or “heavy-duty.”
“Durable” means different things for a small dog squeaker plush vs a large-dog tug toy. Procurement should specify three items: (1) target pet size range and play behaviors (chew/tug/shake), (2) a reinforcement map (double seams, tape, stitch density zones), and (3) component retention rules (fixed pockets, stitch barriers, inner containment). These controls are what your factory can repeat consistently.
A helpful PO section is “Performance Build Requirements,” written like a checklist. Example: double seam at limb roots and mouth edge; reinforcement tape in tug zones; squeaker inside fixed pocket; inner lining/containment required; embroidery face preferred; pack-out prevents deformation. When these items are locked, QC becomes objective because pass/fail can be measured against the checklist and the reference sample.
If you want to add a field validation step, order a pilot quantity and collect real user feedback for 2–4 weeks, then upgrade only the items that affect returns (usually reinforcement and retention), while keeping aesthetics stable.
How do you secure squeakers/crinkle/rope so they don’t shift or expose?
We secure internal parts with fixed pockets, stitch barriers, and where needed an inner containment layer, so components stay stable and reduce exposure risk.
Component exposure is a top reason for negative reviews. A squeaker placed loosely will migrate toward a seam and eventually rub through, especially when dogs bite and shake. Crinkle film can fold and lose sound if it is not fixed. Rope limbs can pull out if the anchor seam is not engineered. The solution is not “stronger stitching everywhere”—it’s targeted retention design.
Our recommended retention approach is: (1) place squeakers and crinkle layers inside a fixed pocket with a defined pocket size and position, (2) add stitch barriers so the component cannot slide into stress seams, (3) use an inner lining/containment where the product segment requires it, and (4) lock these details in the reference sample and spec pack. Procurement should request pocket location photos and a short pocket spec so bulk operators repeat it correctly.
If you’re choosing between squeaker and crinkle, consider pet size and brand positioning: squeakers drive excitement but require stricter retention; crinkle can be safer-feeling but still needs stable layering. For tug toys, rope anchors need explicit anchor stitching zones and often reinforcement tape.
Why do many pet brands prefer embroidery-only faces?
How do you control shedding, pilling, and “fabric wear” complaints?
We control shedding and wear by selecting the right plush grade, matching it to the play style, and locking a material system (outer + lining + stitch plan) so bulk lots behave like the approved sample.
“Too much shedding” is usually not a single-factor issue. It can come from an outer plush grade that is too loose for the target pet segment, from stitch density that damages the fabric edge, or from abrasion at bite zones where reinforcement was missing. The practical approach is to choose fabrics by use case: giftable plush can use softer premium textures, but active-play lines often need tougher systems or mixed panels in stress zones. We also recommend stabilizing weak points with an inner lining/containment layer where appropriate, and using zone-based stitch density so seams stay strong without cutting the fabric.
Procurement should ask suppliers to propose the material set in writing: outer plush type, lining/containment yes/no, reinforcement tape placements, and any stress-zone panel strategy. Once this set is approved, it must stay consistent from testing to bulk. If a substitution is required, it should be re-approved, because even “similar-looking” plush can behave differently under chew abrasion and washing.
When needed, we can advise a pilot plan to verify wear performance before full packaging upgrades, so your reviews are protected early.
Can you support mixed SKUs and still keep packing and receiving clean?
Yes—our default is single-SKU cartons for clarity, and when mixed cartons are needed we use a pack-out list + carton mark rules to prevent warehouse errors and claims.
Mixed orders often fail at receiving. The product may be correct, but cartons arrive with unclear labels, mixed quantities, and no carton-by-carton breakdown. That creates scanning errors, mis-picks, and rework. The fix is to treat packing as part of production control. We recommend: (1) define whether cartons are single SKU or mixed; (2) if mixed, lock a carton recipe (which SKUs and quantities per carton) and print carton marks that show the breakdown; (3) standardize unit packing orientation; and (4) add carton numbering so procurement can reconcile quantities quickly.
Carton mark structure (example):
| Field | Why it matters |
|---|---|
| PO / SKU | receiving + traceability |
| Qty per SKU | avoids miscounts |
| Carton No. | reconciliation |
| G/N weight + size | logistics claims |
This approach makes mixed orders manageable without creating a “warehouse headache.” It’s also reorder-friendly because the same carton recipe can be reused.
What QC outputs can procurement request before shipment?
Procurement can request a simple, practical QC pack: inspection checklist, reference-sample comparison notes, carton mark confirmation, and photo evidence of key stress zones.
Buyers often get “QC passed” as a sentence, which isn’t actionable. A better approach is to define QC outputs that match your risk profile. For pet plush, the most useful evidence is not “general photos,” but targeted proof: mouth edge and limb-root seam checks, retention pocket integrity, stuffing leakage checks, and random unit comparisons against the approved reference sample.
We recommend procurement request four items before release:
- QC checklist showing the failure-mode points covered
- Deviation notes vs reference sample (if any)
- Packing confirmation: unit pack + pieces per carton + carton marks
- Photo set: reinforcement zones + pocket zone + finished packing
Lightweight QC table you can ask for:
| Item | Accept/Reject Rule |
|---|---|
| Seam opening points | no visible seam split |
| Pocket retention | pocket intact, no component migration |
| Shape vs reference | within agreed tolerance |
What files and information should we send to avoid sampling delays?
To avoid delays, send a complete Artwork + Dimension + Build Target package (front/back views, size/weight target, play style, logo method, and packaging channel) so the sample team can pattern correctly on the first pass.
Sampling slows down when the factory must guess what “matters most.” For custom pet plush, guessing is risky because the pattern and reinforcement plan depend on the pet segment and play behavior. A complete submission should include: (1) clear front/back artwork (AI/PDF/PNG) with key details called out, (2) target dimensions (L×W×H) and target weight range, (3) target pet size and play style (chew / tug / shake / light play), (4) face method preference (embroidery vs print), (5) component plan (squeaker, crinkle, rope), and (6) packaging channel (Amazon/DTC/retail), because it affects barcode layout and unit pack style.
Procurement can also reduce revisions by stating what is “non-negotiable” vs “flexible.” Example: “Must keep silhouette and face placement; flexible on inner lining choice.” That lets the factory optimize durability without changing brand look.
Fast RFQ file checklist
| Item | Why it matters |
|---|---|
| Front/Back Views | prevents face/shape mistakes |
| Target Size + Weight | drives pattern + stuffing |
| Play Style | drives reinforcement map |
| Logo Method | affects hand feel and repeatability |
| Packaging Channel | drives labels + carton marks |
How do we handle IP, licensed characters, and confidentiality?
The safest workflow is to set clear IP ownership, use NDA + file-control rules, and approve samples only from authorized artwork so your design is not reused or leaked.
For licensed pet plush (characters, brand mascots, campaign designs), procurement should treat confidentiality as part of the sourcing spec. Start by confirming who owns the artwork and whether the factory is allowed to store files. A practical approach is: sign a mutual NDA, define who can access the files (sales + sample team only), and require that production uses the approved artwork version only. For extra protection, you can provide artwork with watermarks for early feasibility review, then release final files only after sampling terms are confirmed.
It also helps to define “no-external-sharing” and “no-third-party-subcontracting” terms in your PO. If any outside process is needed (special print, special packaging), require pre-approval and a named vendor list. Procurement can request a simple record: file version name, date, and the approved sample photos, so there is one truth source during reorders.
If your project is sensitive, limit early discussions to a reference style and structural requirements first, then share full character details later. That still allows accurate build planning without exposing the complete IP too soon.
How do we control color consistency across batches?
Color stays consistent when you approve a color standard (Pantone or physical swatch), lock the material lot rule, and keep the same outer plush grade from sample to bulk.
Color mismatch is one of the most common bulk disputes. For plush, the risk is higher because pile direction, dye lots, and lighting make colors look different. Procurement should avoid “screen color approvals” as the only reference. The safest approach is to approve one physical standard: a Pantone target plus a fabric swatch, or a signed sample piece. Then define how bulk is matched: same material lot when possible, and clear rules if a new lot is required.
For pet plush, also consider how color interacts with wear. A softer plush in a darker dye may show abrasion marks faster. That’s why color control should be paired with the material set lock, not treated separately.
Color control checklist
- Approve Pantone + swatch (or physical sample)
- Confirm pile direction and lighting used for approval
- Lock outer plush grade and finish
- Define lot rules for reorders (same-lot priority, approval for change)
If your brand sells multi-color sets, define the “hero color” that must match strictly, and allow slightly wider tolerance on secondary colors to keep lead time stable.
Start Your Custom Plush Project Today
If You Can imagine it,We Will Create it!
Whether you are a brand, creator, retailer, or agency, our Guangdong plush factory is ready to support your OEM/ODM development. Send us your design, concept, or reference image — our team will reply with a free development proposal and quotation.
1. Tell Us What You Need
Tell us your requirements and share your artwork or reference images.
2.Get a Solution & Quote
We’ll suggest the best solution based on your requirements, and provide a detailed quote within 12 hours.
3.Approve for Mass Production
We will start mass production after getting your approval.
For all inquiries, please feel free to reach out at
- info@heyzizi.com
- (+86)13717153084
Ready to Grow Your Plush Product Line?
Brands and businesses from over 80 countries have chosen Jundong as their trusted plush manufacturing partner. Now it’s your turn. Work with us for reliable custom plush production, clear sampling support, and stable delivery for long-term programs.